Today we’re sharing all about our clever raised washer and dryer setup!
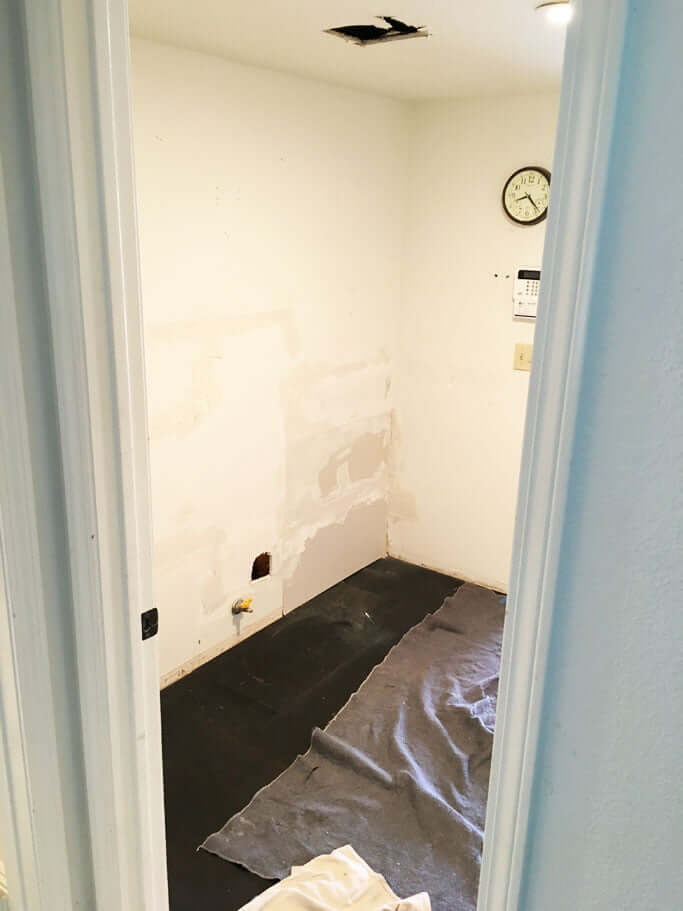
Remember this old laundry room? With the worst washer and dryer layout ever?
You’re all, “How could I forget? It’s burned into my memory now, Jess.”
Well, prepare to breathe a sigh of sweet relief with me, because that old laundry passage is no more.
Look at it now! It’s so pretty! Sometimes, just getting the ugly out makes it 8,000x better.
I should really let Matt write this now to explain what he did here. In Jess Language, I can tell you he
- ripped out the upper cabinets
- demo’d the old sink and cabinet that were in that back corner
- filled in the holes with drywall
- patched areas that needed it
I know there must be more. There must be more about pipes and drains and things in the wall that went into the garage, but I know nothing of such things. (That’s what Matt is for; you can always ask him.)
RAISED WASHER AND DRYER
First, Let’s Start the Process!
Remember this old wall from the downstairs tour (when the prior owners lived in the house)?

It now looks like this:

You can see our raised washer and dryer on top of the pedestal stands that came with them.
I do NOT plan to leave it this way! This was Phase 1 of our plan. I knew I wanted our washer and dryer elevated somehow. I didn’t want to use those pedestals, I didn’t want a laundry stand box, and I didn’t want just a raised platform. I didn’t know exactly how to build what I wanted in order to raise our washer and dryer, but I knew we could figure it out if we employed our smart “testing” phases!
RAISED WASHER AND DRYER LAYOUT
Phase #1: Test out all the laundry room ideas!
Maybe I need to explain about my “Phases of Layout” that we sometimes employ. (More exact, detailed steps can be found here.)
I like to live with a space a certain way for a period of time, until I figure out how we live with it in real life.
For example, with this laundry room and the raised washer and dryer setup, I first wanted to see how it felt to have the washer and dryer in this 4th bedroom…FOR REALZ.
You can measure all day long, but there is something about actually seeing it in the space that helps. It helps better visualize what it will look like, and it helps you come up with even better ideas.
We could then see
- How it was having the washer & dryer in that room?
- What was it like having the raised washer and dryer? Could I get along with the standard pedestal drawers below, or would I want them higher?
- Do I like having some laundry storage to the side? (see temporary storage cubby as a placeholder to the right)
- Did I like having hooks to hang clothes on the wall to the left? (pictured above)
So this was Phase 1 (you can see our blue painter’s tape on the floor marking out where we thought the raised washer and dryer would land—but that was before we moved everything into the room):

Or should I say Matt moved it into the room.
Speaking of Matt, here he is doing something with electrical wires. (See, I know that much.)
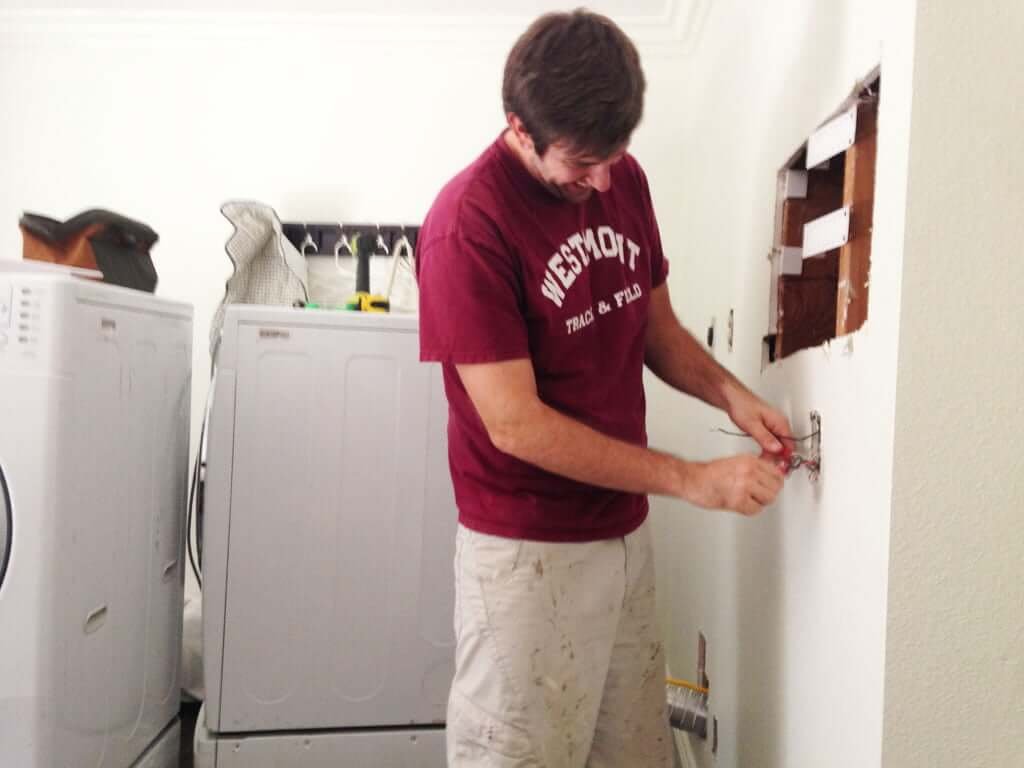
He certainly looks happy about it, doesn’t he?
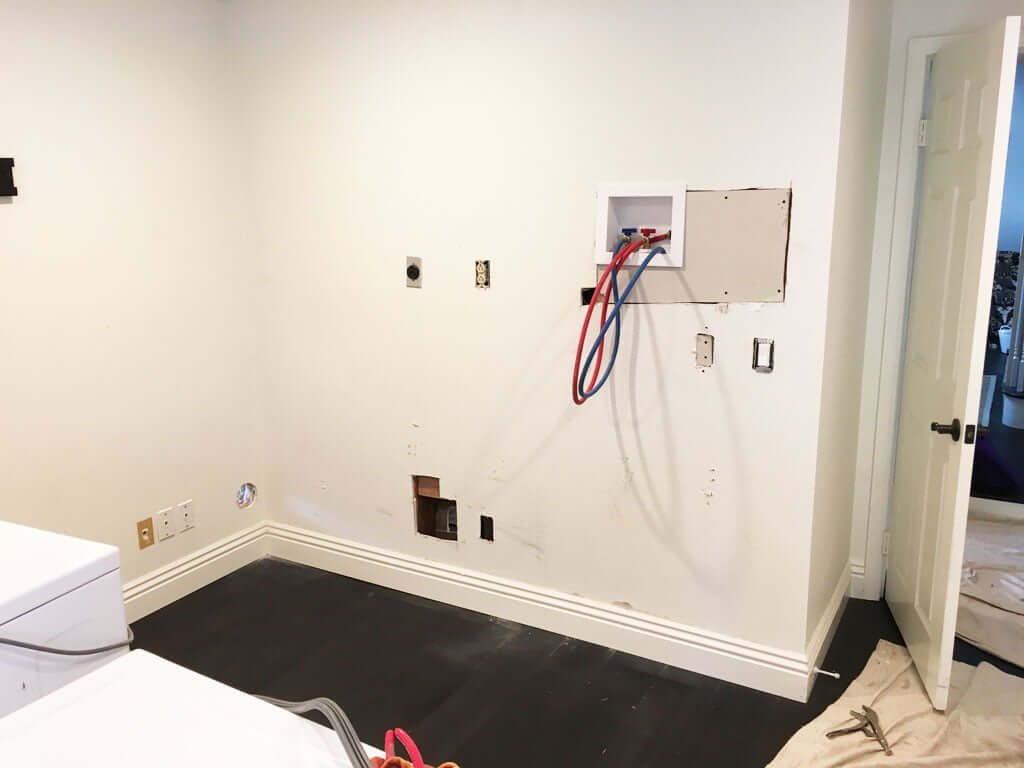
Here you can tell we’ve also patched some drywall, and you can see the hole for the dryer vent back on the left side of that corner, going into the garage.
➔ PRO TIP: Before making ANY interior decision, first make sure it aligns with your home strategy! Haven’t made one? Then you 100% NEED this trusted tool we created for you: “The Complete Home Design & Strategy Guide!” (EVERYONE needs it! Don’t miss out! If you do just one smart thing for yourself this entire year, it should be this!)
RAISED WASHER AND DRYER LAYOUT
Phase #2: Adjusting the raised washer & dryer!
After Phase 1, I’ve determined the washer and dryer for SURE need to be elevated to where we want them.
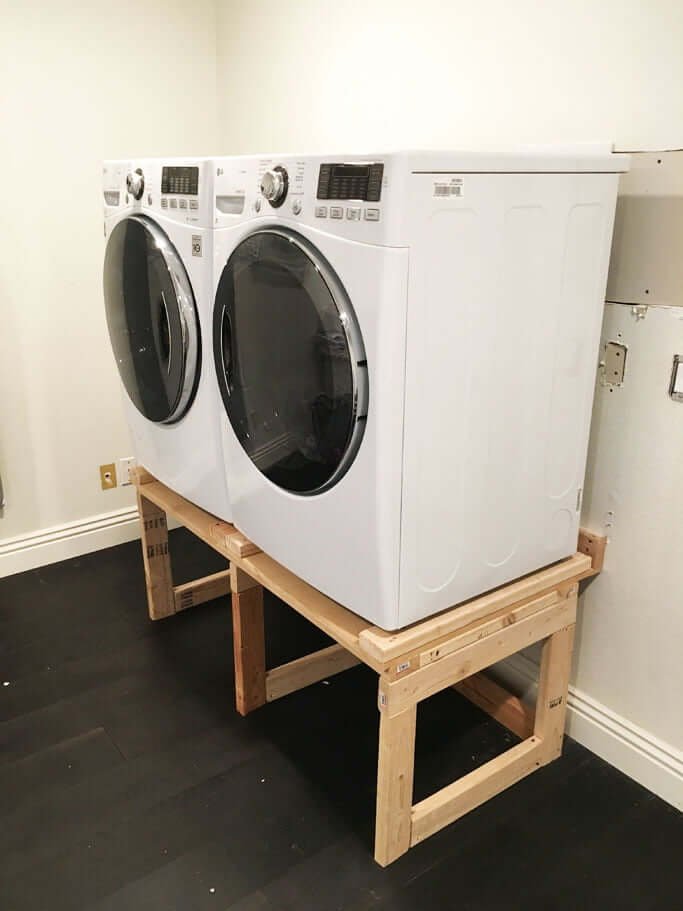
So Phase 2 looks like this:
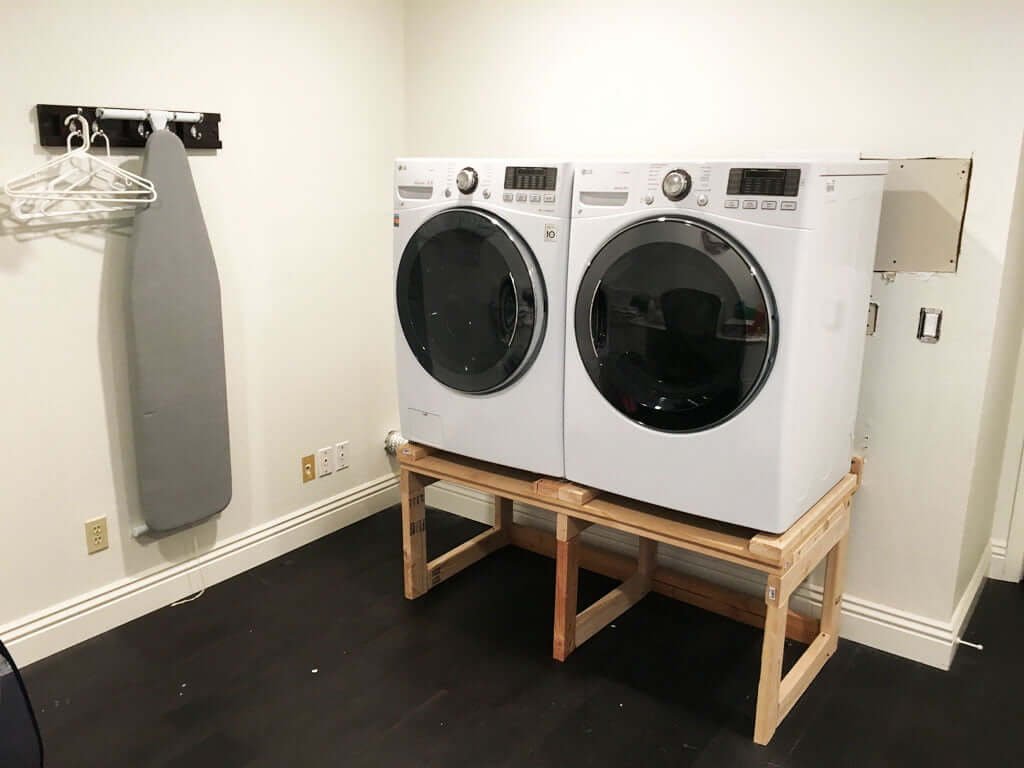
The washer and dryer have been raised up via a temporary raised platform built by Matt. Do I likey? I likey.
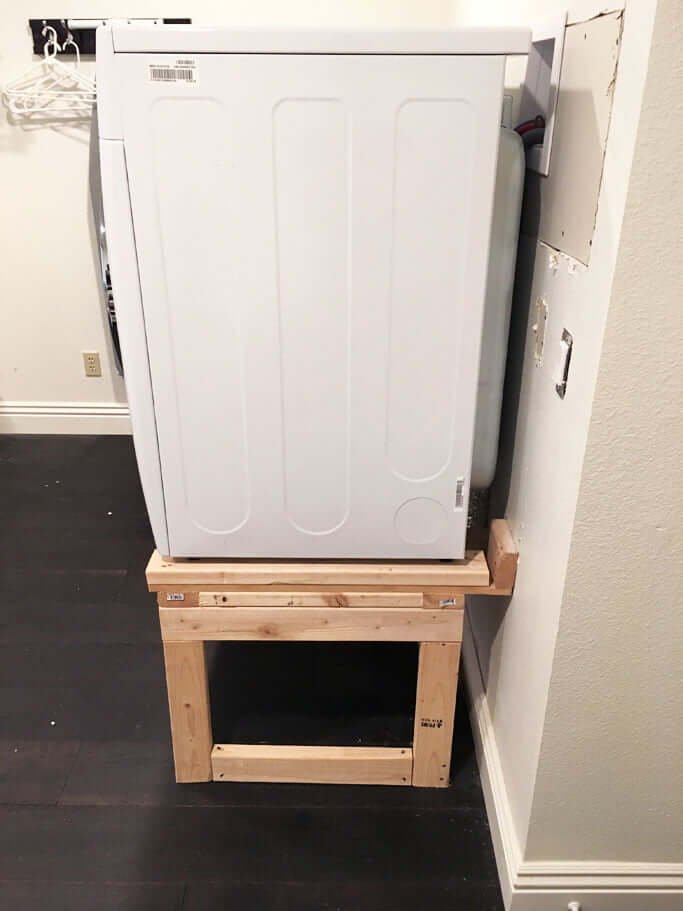
RAISED WASHER AND DRYER:
How to determine the perfect height!
We determined the exact height I wanted the raised washer and dryer at by doing some top-secret testing: Matt doing some measurements while I pretended to reach where I wanted to. It was that easy.
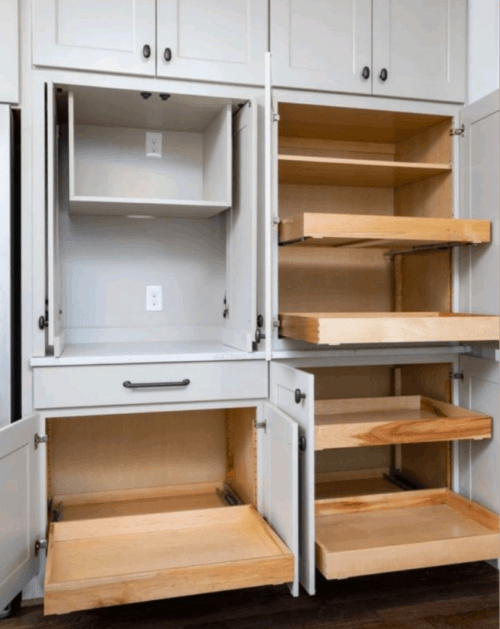
I also wanted to have the biggest drawers possible for underneath, but you’ll see all of that (and why!) in the final laundry room reveal!
I asked Matt if he’d like to add the technical details about what he did, but his answer was to shrug. He said people will only want to see the photos of the final raised washer and dryer, how the laundry room turned out, and how we got there.
He tells me, “All I did was move the water lines, and do XYZ to the electrical, and…”
This man says it in the unimpressed tone of “That’s easy stuff anyone can do.” (He really believes it is! Do you feel empowered? I do!)
Below is a sneak peak during install. Click through to see our COMPLETED raised washer & dryer!
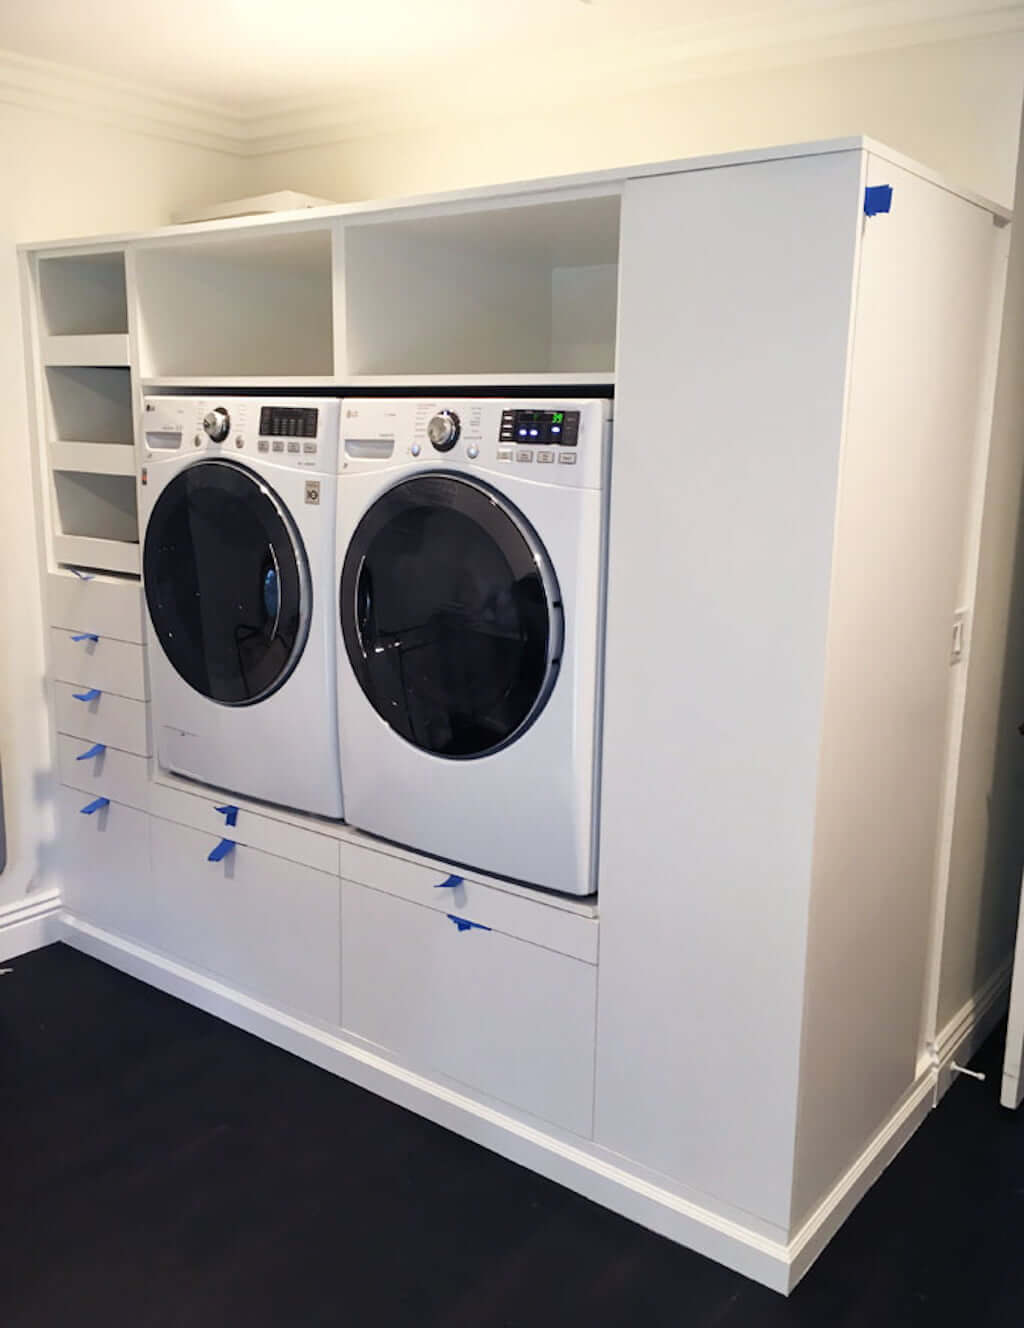
You can see the FINAL raised washer and dryer (along with our 7 Laundry Room Must Haves!) in our completed laundry room!
UPDATE: Matt spent weeks putting together our Laundry Cabinet Plans for you guys! An ambitious beginner can DIY them, or you can hire someone to build them for you in a weekend if you don’t want to be bothered.😆
Next…
You’ll love browsing our 13 “Freshest” Laundry Room Decor Ideas & Must-haves!
(Or, if you missed WHY we ripped out our old laundry room, that fun story is HERE! 😉 )
You also might like to…
- …learn how we max out the function of a room: Steps to a Successful Room Layout, or if you’re curious what happened to the old laundry room space, check out our small-but-mighty completed mudroom!
- If you’d like our help on your own home, you can utilize our Design Guides & Plans or book a Design Consultation with us!
- If you’re new to us or our blog, you won’t want to miss grabbing our FREE Design Mini-guide!👈😍
Before you do ANYTHING else on your home (no matter where you live, how big or small your house is, whether you rent or own), YOU HONESTLY NEED THIS: “The Complete Home Design & Strategy Guide!” We’ve spent hundreds of hours creating this FOR YOU, to save you time (and from making expensive mistakes/barking up the wrong tree)!
PS: Our complete list of every single home project is viewable HERE!


Hi! I just bought a new washer that I have in the rear of my basement where the faucets are. it’s near a corner of the basement where some water gets in from the floor during a heavy rain storm. it doesn’t flood. now that I have this new washer, I want to be sure it doesn’t get damaged. it doesn’t need to be raised as high as in these pictures. maybe 2-3 inches. what do you recommend? thank you.
Hi Veronica!
Thank you for your question—I’m glad you’re finding the blog helpful!
Many people like to buy pedestals for their machines from the manufacturer, which is an easy solution. If you’re looking for something customized to you, your exact space, and your unique needs, we’re not able to provide personalized design advice in the comments, but I do work with clients privately if you’d like tailored guidance for your space—let me know if you’d like to explore that!
Jess
Curious where your dryer venting As in is your machine rear or bottom vented?
Hi Krysta!
Rear vent it is!
Jess
Hi,
Did you secure the washing machine and dryer to the base of the platform at all?
No, they’re heavy enough as is — nothing’s going to move them! 🙂 (And nothing has for a decade!)
– Jess & Matt
I love it. We planned on doing something similar in a house that we’re building. The laundry room is on the second floor and one thing that worries me is what if the washing machine floods. Hubby wants to put in a floor drain. I’m thinking that with the configuration you have, it might make sense to make the to of the pedestal waterproof and put the drain in there. Maybe towards the back to keep it clear of the drawers. Did you consider doing that?
Thanks Teri!
We haven’t had our washer and dryer “flood” in 20+ years but absolutely if someone in your home is concerned about it, it’s worth adding whatever helps that person sleep at night! 🙂
Happy building!
Jess
Jess, your laundry room transformation is truly impressive! I’m especially intrigued by the sleek washer and dryer pedestal stand you’ve created. It not only adds an elegant touch to the room but also appears to provide easy access for machine servicing, which is essential. Great job!
Thank you for the kind words.
– Matt and Jess
How did Matt determine how high to make the drain standpipe?
Hi Brooke! It was already in the wall so we left it the standard height it was already at!😄🙌
– Matt & Jess
did you know that one of your pictures is used on Amazon? https://amzn.to/3SxebxB
I love the raised washer dryer unit. It is perfect for my client. Wanted to know if you make these and install them. I am in Illinois. Just wandered before I ask another cabinet maker or do you know where I can buy this in the Chicagoland area.
Fred M
Hi Fred! We see you purchased our Laundry Cabinet Plans and that’s perfect. Happy building!😄
Jess and Matt
Hi Jess! I really love how your laundry room turned out. I was wondering how difficult it might be to service the machines if the need comes up. How do you pull them out? I had been thinking about building just a platform and putting it on locking wheels or something. Sounds clunky though. Your solution is so nice and clean.
Hi Michele, that’s a very common question we address in our main laundry room post HERE!😄
Jess
I just bought the plans, Any way to edit them to rotate the right cabinet?
Hi Tom! Just reply to your order confirmation and we can help you with any questions you have on customizing your plans!
– Jess and Matt
I do worry about a fully loaded washing machine e in spin cycle.
Don’t you need a super strong material to hold it securely?
Our Laundry Cabinet is built well and we’ve had zero issues with any movement during spin cycles. 🙂
– Jess & Matt
I do not see the large bottles of laundry detergent, sanitizer, fabric softener, etc. in the finished photo. Where are they?
Hi Renee! If you click through to the final post, you can see all the final photos and placements!
How high is your drain box from the floor? I want to do this but my plumber said I might have drain issues if the box is too low.
I was considering this and talked myself out of it. I’m concerned with needing to pull the washer and dryer out for anything-maintenance, dryer vent cleaning, etc. Any thoughts on that since you’ve had this a while?
Hi Lisa, that’s a common concern we address HERE! 🙂 Hundreds of people have now used our plans and not had any problems! We’ve had it this way for eight plus years and literally zero problems, so only happy thoughts here! 🙂
– Jess & Matt
Hi! I’ve been considering a similar idea for our upcoming renovations. My only question is how sturdy has this been, especially when the washer is on the spin cycle and can shake a bit?
Thank you!
Hi Alyssa! This has been super sturdy and we’ve had literally zero issues with spin cycle/shaking. A common question but really, our design plans are super solid! 🙂
– Matt & Jess
How did you lift the washer and dryer each time they were moved to and from the pedestals during the phases?
Hi Dominique! The dryer is lighter so Matt just moved it himself. The washer we did together!
– Jess
Great concepts here, I am currently remodeling our laundry room. What was the final height of your pedesatal? I determined 24″ based on the comfortable reach height for our design.
Hi Paul! The plans are now live HERE!
– Jess & Matt
Just downloaded your detailed plans and had some questions on the inches.
Hi Phil! Just reply to your order confirmation and we can help you with any questions you have on the plans!😄
– Jess and Matt
I really need the technical specs. Did you custom order the drawers? Did you build them yourselves? What do you call the pull out platform? Everything I’ve seen has a lip. Did you reinforce the base cabinets? How is the temporary base constructed?
Hi Sonja! UPDATE: The plans are now live HERE!
They’re HIGHLY detailed and illustrated with 3D images and easy for even an ambitious beginner to use! 🙂
– Jess & Matt
Love how it’s raised! Well done!
Thanks Allison! We love using it every time! 🙂
This is so inspiring!!!
Well! We always love hearing THAT! 🙂 Thank you so much for letting us know, Anna!