As per usual, finding a bathroom floor tile design that Jess approved of was no straightforward task.
At first, it seemed easy enough! I liked the look of travertine, and I found this picture, so I thought, “Good to go!”

However, like so many projects, I soon realized that the bathroom I envisioned was like a magical unicorn in my mind, never to be found on Pinterest.
Nice try, internet. But my answers will not be found on you. I must traverse this road alone.
After weeks of searching, the below combination is one I seriously considered. It was a combo I put together myself in a tile shop with high price tags and where no one knew anything.
My combo was warm and island-y.
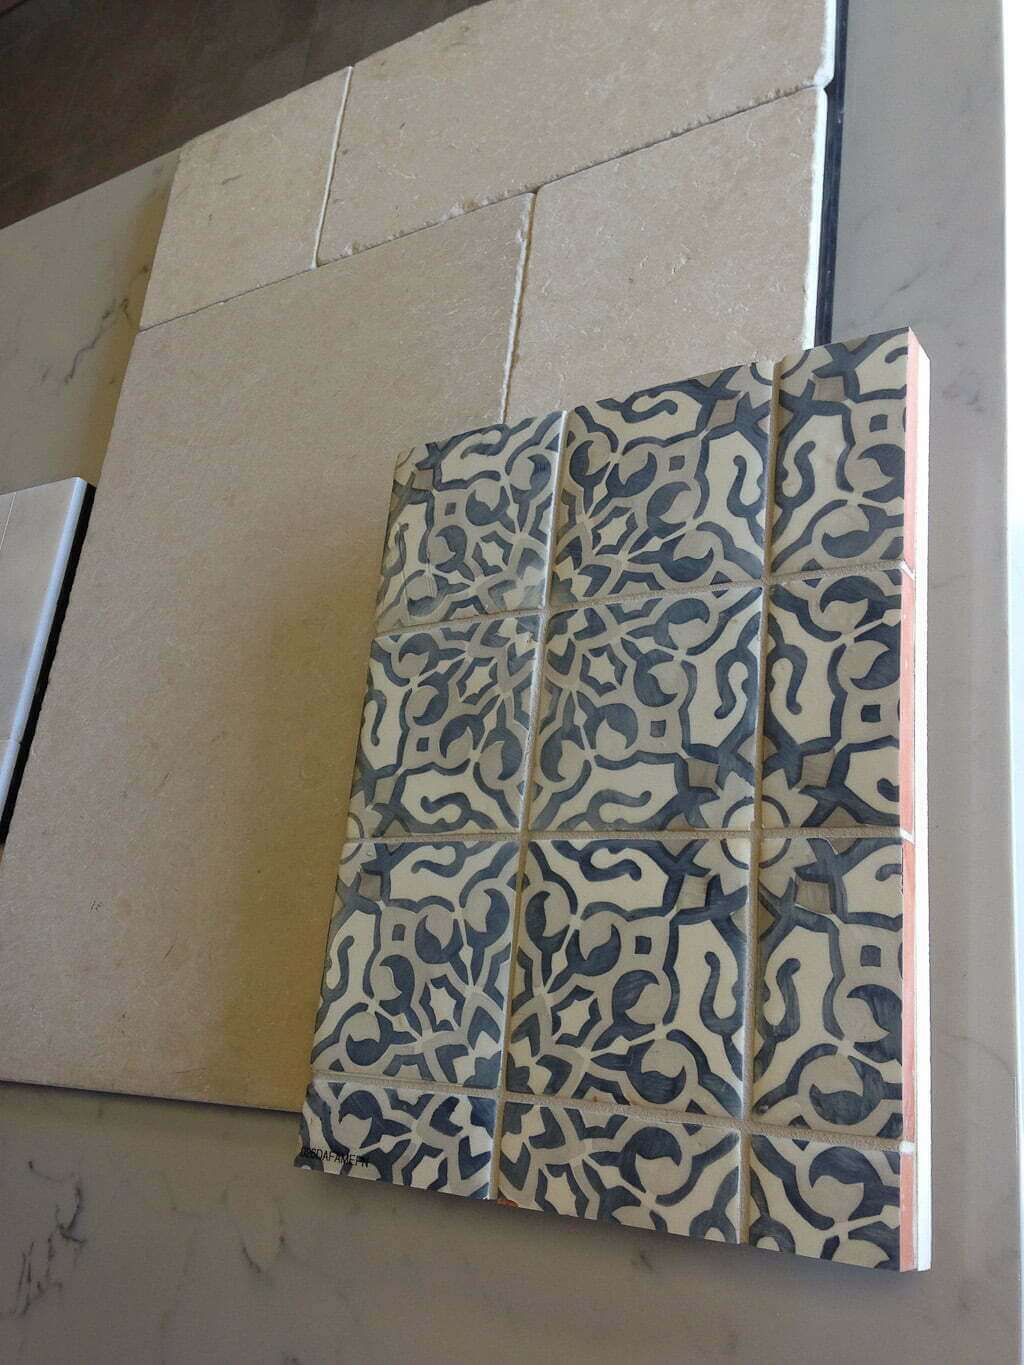
It was also ridiculously expensive (I tend to find those), but that doesn’t matter to this story because I didn’t choose it.
I didn’t choose it because
a) I was convinced that someone would sell me what I wanted for less than what these guys were charging, and
b) I suddenly had a vision of something completely different. A vision of something reminiscent of a bathroom in an amazing hotel suite we were upgraded to at one point on our honeymoon.
A bathroom I had no actual picture of, just a faint memory.
What I did remember was that it had white marble. No travertine.
DECISION TIME:
I wavered. To go for the warm look of travertine, or the honeymoon-memory-white-marble-faintest-of-faint-unicorn-vision in my head?
Come on.
You know what won.
You know Jess is going with the unicorn.
So let’s ride!
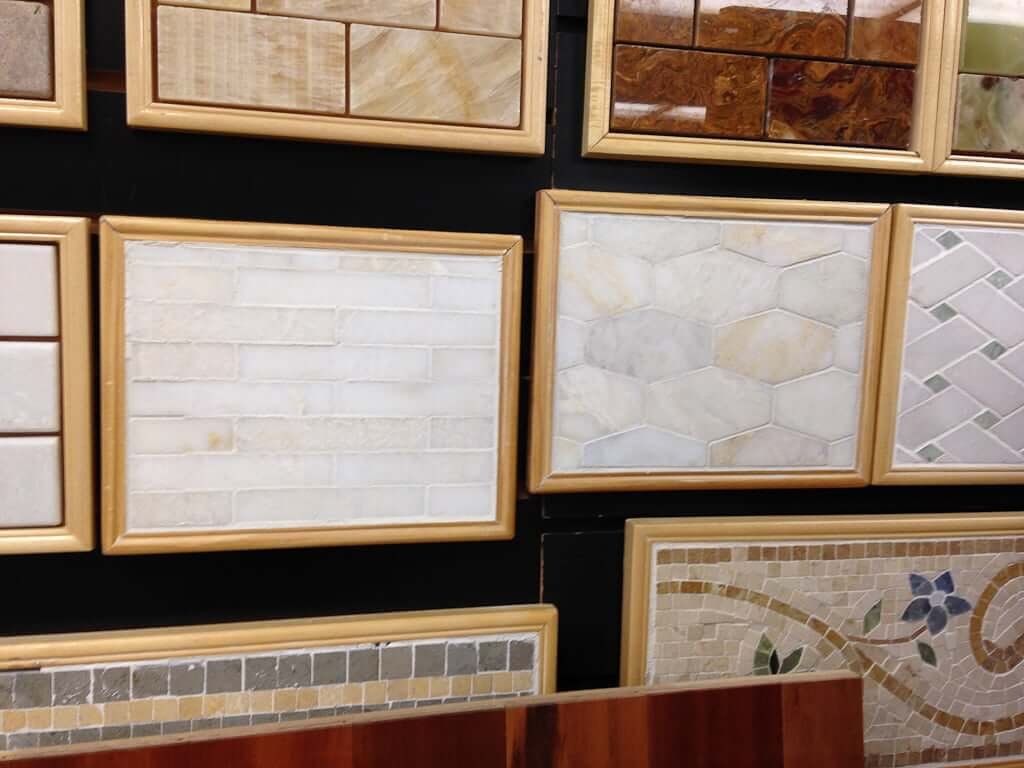
(This picture represents the 187,000 different marble tile patterns I looked at—and rejected.)
Surprisingly enough, I found my bathroom floor tile pretty quickly. I’d discovered a wholesale tile place with PHENOMENAL prices (basically it was leftover tile from big projects or someone who had ordered the wrong thing—yes, I fell in tile shop love, went often to see what was new, and all the workers soon knew my name + my children’s names). They didn’t usually have the full stock there at their storefront, but they had samples and could get the full boxes from their warehouse.
I got the 18×18″ sample, brought it home, put it on the ground, and Matt and I both said, “That’s the one.”
It was a simple, beautiful, white marble with some (but not too much) veining. Perfect.
Order it, I said.
“This is going too smoothly,” you protest. “There has to be a kink somewhere.”
Yes, my friend. You’ve already sensed a twist coming in this story. Well done!
BATHROOM FLOOR TILE DESIGN:
Twist #1
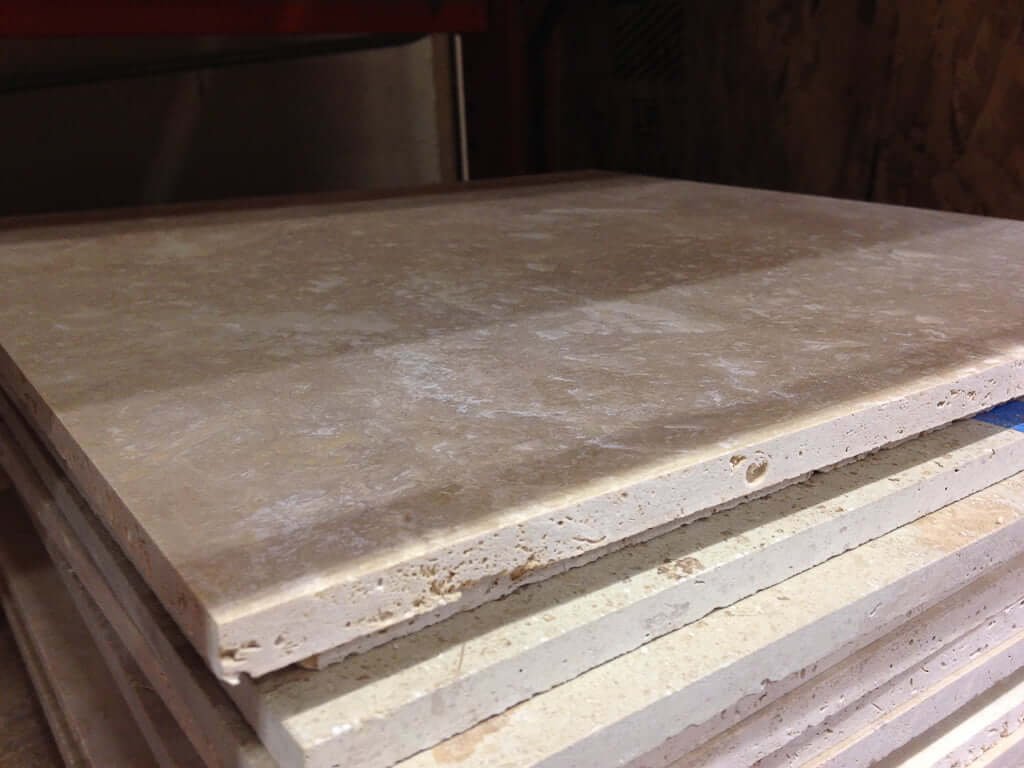
The tile was delivered and guess what?
The sample we’d gotten was NOT an accurate representation of all the tiles.
The sample we got was mostly white, with minimal veining.
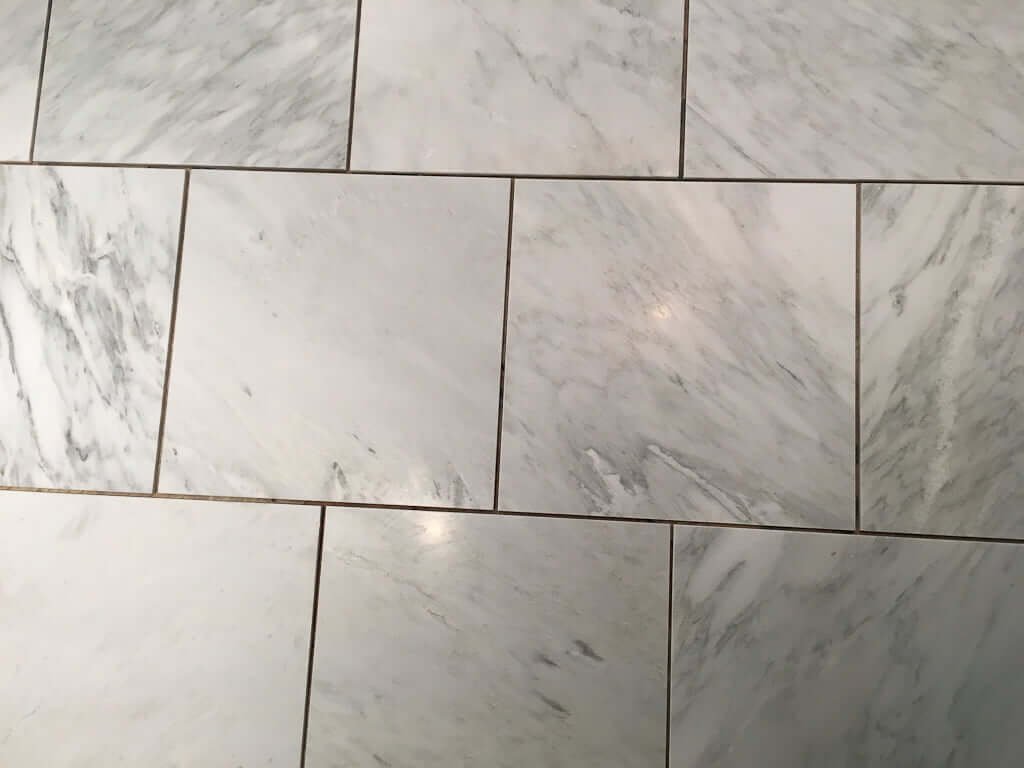
However, once we unpacked Tile Box #1, you can see for yourself that there is PUH-LENTY of veining in this marble. Quite a bit “busier” than we’d envisioned.
Lesson learned and that mistake will never be repeated with samples vs boxes of tile. But for now, we’ve gotta make lemonade out of some lemons.
Sure, we could have returned it and paid a restocking fee, but I HAD A VISION and I couldn’t let go of my tile. I’m like a Mama Bulldog.
(Don’t fret. We come up with a plan. BECAUSE THAT’S WHAT WE DO! Shazam!)
BATHROOM FLOOR TILE DESIGN:
Twist #2
The second twist is that Jess decides all the usual tile patterns are too boring.
(I write in the third person when I’m laughing at myself.)
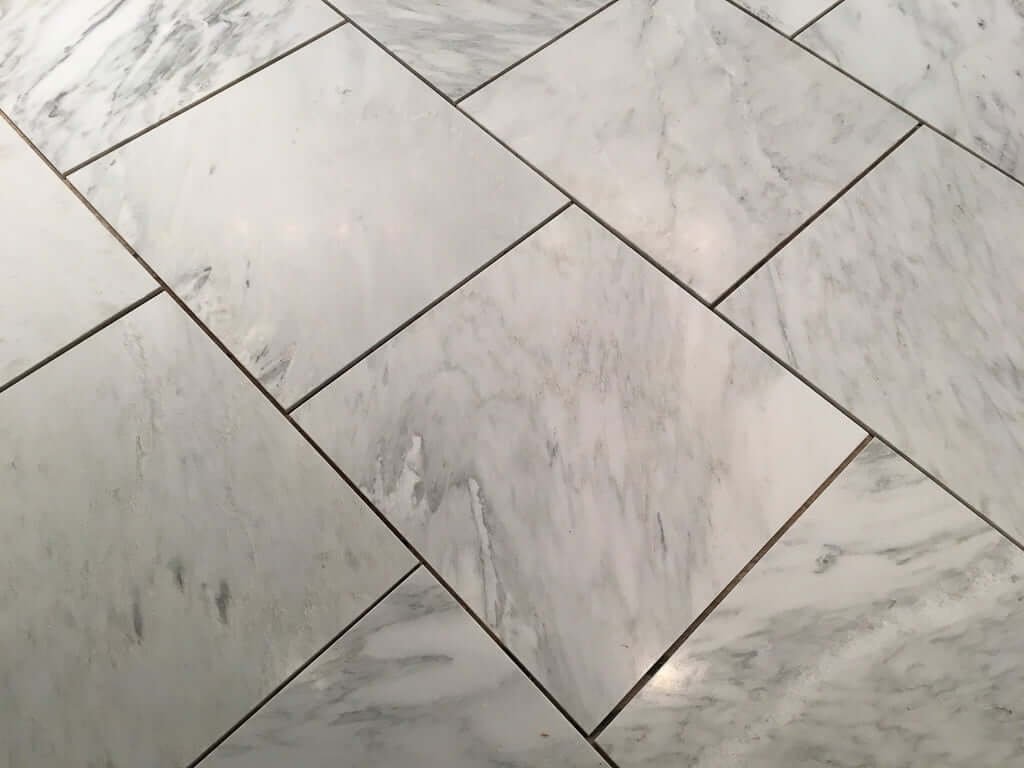
Whether they’re all lined up in a standard pattern…

…or offset in a brick pattern…
…I decide these patterns look too easy, and I’m back to my magical unicorn chasing.
Not that there’s anything wrong with those designs, but I had to make sure there wasn’t some other fantastic floor tile pattern option I was missing.
In my defense, I once read something about the two different ways people make decisions:
- The first type of decision maker finds the first option that seems good and goes with that.
- The second type of decision maker has to explore ALL the options before he/she can make the final decision.
I will say no more.
BATHROOM FLOOR TILE DESIGN:
Solution #1
After a night of sleep, genius strikes.
I whip out a pen to sketch my new idea for Matt on the back of another piece of paper. (Yes, much like other sketches I’ve been known for.)

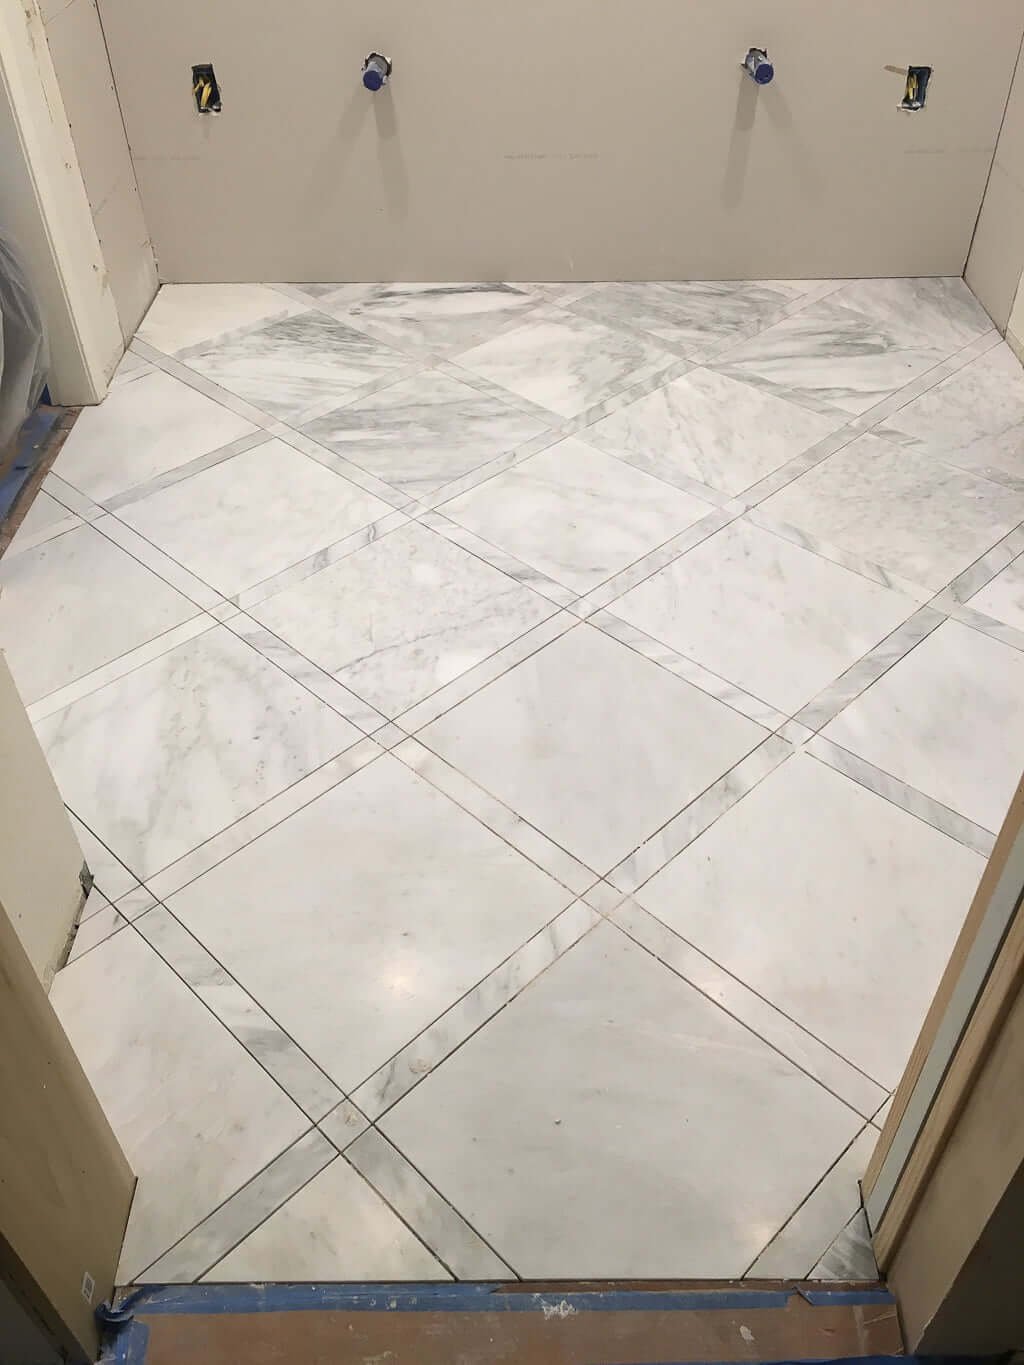
You see, I didn’t want to incorporate other colors or tile types into the floor pattern to make it unique. I wanted it to all be the same color and style. I just needed to figure out the right pattern.
This new solution still had the overall-same-material look to the floor…YET with a more interesting, subtle pattern.

Here we are, late at night, with the children in bed, me in my cozy grey socks, standing in our demolished master bathroom with the bright lights on, trying to solve the bathroom floor tile design problems of the world.
Consider them solved.
(The cut squares and strips in the pattern are from the larger tiles. We cut up some of the most-veined tiles to make them. Another tile cost savings jackpot.)
BATHROOM FLOOR TILE DESIGN:
Solution #2
Remember how the sample tile was so different from the actual majority of tiles in the boxes? We came up with a solution to that too.
SOLUTION: Put the whiter, less-veined tile out in the open, and fit the more veiny floor tile under the vanity near the wall as best we can.
IT LOOKS SO GOOD! We’re on a roll!
Would anyone ever guess we created this floor for minimal tile dollars? Nope. And that makes the victory even sweeter.
For a fraction of the cost of my original travertine combo pictured earlier, we’re thrilled with these results. High style with crazy low cost. Just took a little creativity and we’re there.
(Plus when you do that, you can then put more of your budget to something else. Like lighting! And wall faucets!) We’re movin’ right along!
See what we’re doing for the wall treatment next!
Next steps on our bathroom remodel:
- Where we installed wainscoting.
- How we customized our non-slip shower floor tile.
- What the luxurious tub area looks like now.
- Why we DIY’ed our double vanity.
- Why we chose wall mount faucets.
You can view our Complete Bathroom Remodel list. Or, see every single one of our house renovation projects HERE!
PS: To get our help directly with what’s on your wishlist, whether it’s remodeling a bathroom or changing things up aesthetically you need what’s on THIS PAGE!
*This post includes affiliate links to help support our site, which are provided at no extra cost to our readers.
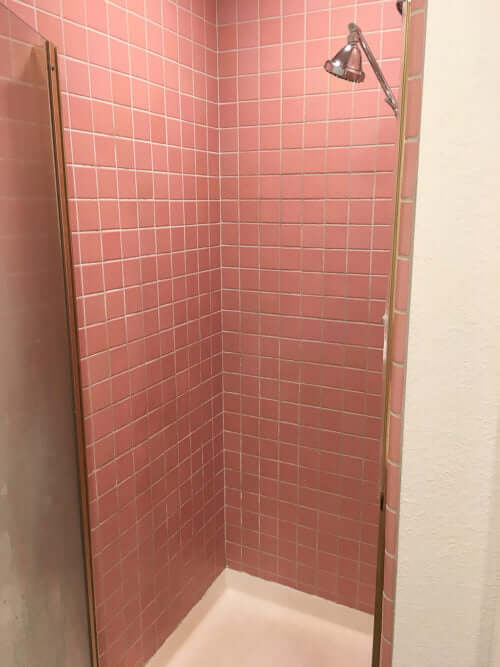


Can you share the measurements of your shower? We also have a coffin shower and are looking to expand! I llove the slab wall idea!
Do you have more info on how you cut and sanded the tiles? Did they chip/burr on the edges?
Amazing project. I was also looking to do this floor design layout. Whether it was our outdoor patio, our stone courtyard, or our bathroom floors, always diamond shaped and always framed! I wanted to see if anyone else had done this thing i envisioned and voila I landed here on your blog and it pretty much encompassed everything I planned for our master ensuite. So happy as it gives me the exact visual of what our will look like. For the exterior framing pieces around the 18″ x 18″ tile, did you do a 2″ x 18″ and 2″ x 2″ for the smaller square mosaic joining pieces?
Hi Alexandra and thank you! We’re happy to provide the visuals.😉 Yes, those measurements are correct. Share pics with us when you’re done!😄
– Jess
Hi Jess, I love your bathroom and I am collecting ideas to start my major renovation. Question for you on the shower porcelain tile floor. What did you do to the tiles to make them non slip?
Hi! Any idea what made this tile? Also, it is ceramic or marble?
Hi Sara, we have a link to the tile in our post under each photo of it! 🙂
– Jess
This post is everything for me right now as I’m in the tile selection process with all of your same woes. Your solutions are perfect and I will certainly try to incorporate these fabulous ideas for my flooring and shower. Just curious what color grout you used in the all the flooring and hoping I can find a fabricator or a cut friendly tile guy!
Hi Cindy, so glad our posts have been helpful to you! 🙂 We used Polyblend Snow White.
– Jess & Matt
Hi,
“I’d discovered a wholesale tile place with PHENOMENAL prices “. What store is this? I live in Orange County Ca.
It was a place local to us. If I were you, I’d try doing a Google search for “wholesale tile” stores near you in Orange County. There definitely should be some good ones near you! 🙂
Hello, I just came across your blog. I love your floors and what you did on the shower walls. I would love to see a picture of them together. How did you find the different materials that worked together?
Thanks Lauren! We love them too. You can see a picture of them all together on this post: https://thebrainandthebrawn.com/double-shower-triples-our-space/
We went through a lot of options before figuring out which tile to do on our shower floor to have it match. (You can see photos of many of the options we looked at here: https://thebrainandthebrawn.com/non-slip-shower-floor/)
There are so many factors to choosing the right tiles that work together! A lot of searching in person and bringing back samples is always a good start! 🙂 Are you in the middle of your own project/search right now?