This post showing you a few before & afters of our kitchen remodel is going to be brief as far as words go. Not because there isn’t enough to say, but because there is so much to say! So we’ll be breaking EVERYTHING about the kitchen down later, into a series of simpler articles.
Why were we forced to remodel our kitchen? This was a surprise remodel that got sprung on us and had to be done much sooner than we planned to do it!
For now, we’d love to show you guys a few of our favorite pictures of what our fixer upper’s kitchen used to look like—and what it looks like today!
KITCHEN REMODEL BEFORE & AFTERS
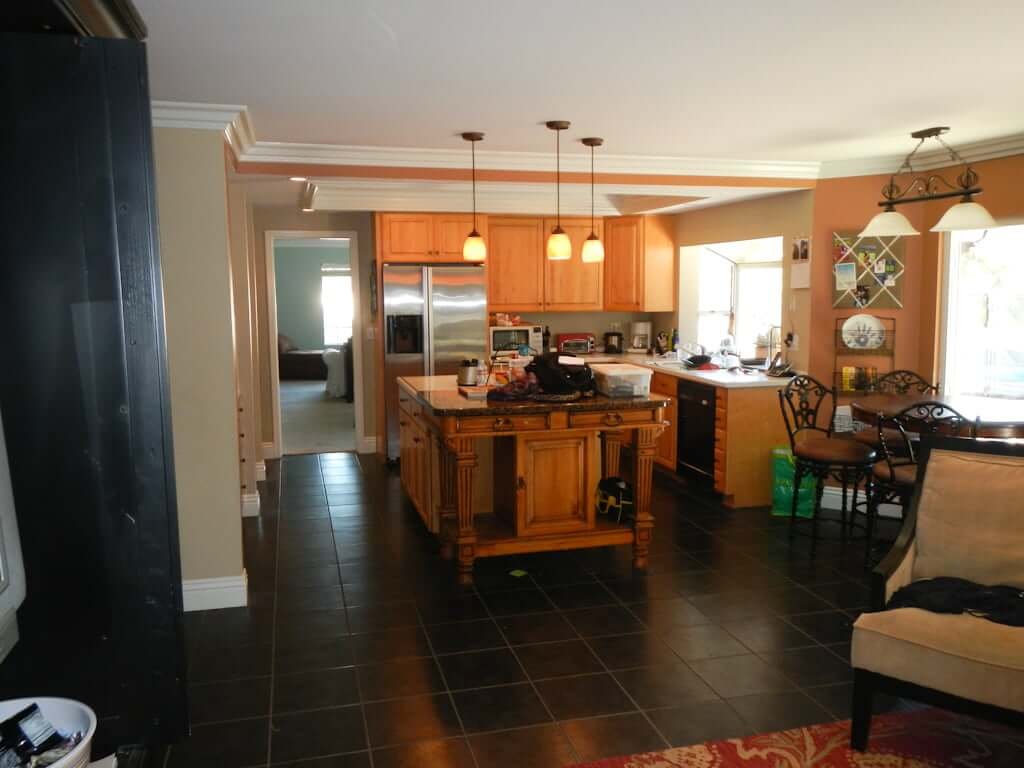
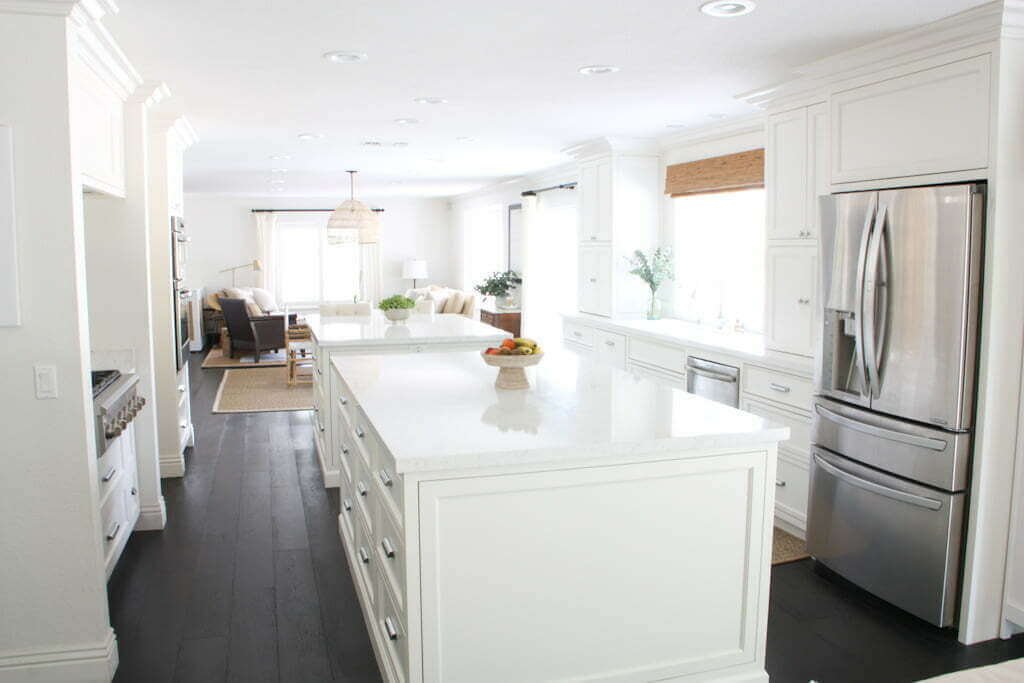
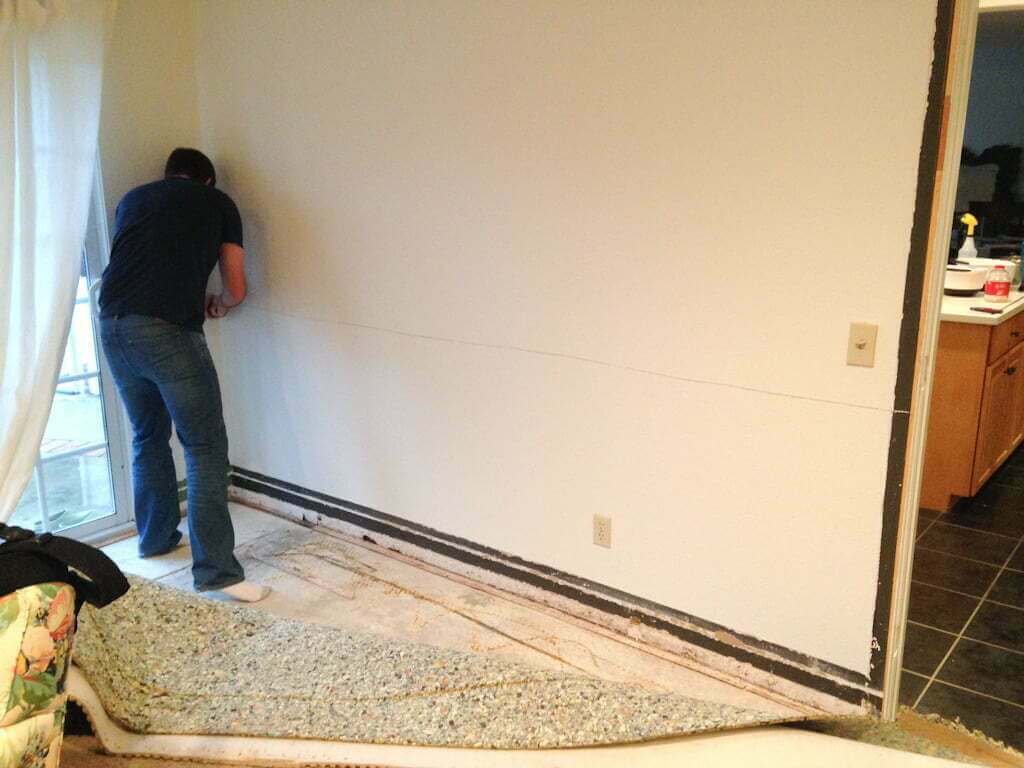
#1: View from the Fireplace Room.
Watch out, because an entire wall is going to disappear before your very eyes!
woven fruit bowl | vase | pendant light | planter | Kitchen Organization & Design Guide
What changed:
- Removed ceiling soffits.
- Removed wall between kitchen and the Great Room.
- Moved fridge location.
- Extended kitchen footprint towards the Fireplace Room side as well as the Great Room side.
- Added two kitchen islands.
- Added all new cabinetry.
- Replaced appliances.
What didn’t change:
- Sink location.
- Stove location.
- Double ovens location.
- The pantry.
We also intentionally chose white for the kitchen. Why? See the answer here!
KITCHEN REMODEL BEFORE & AFTERS
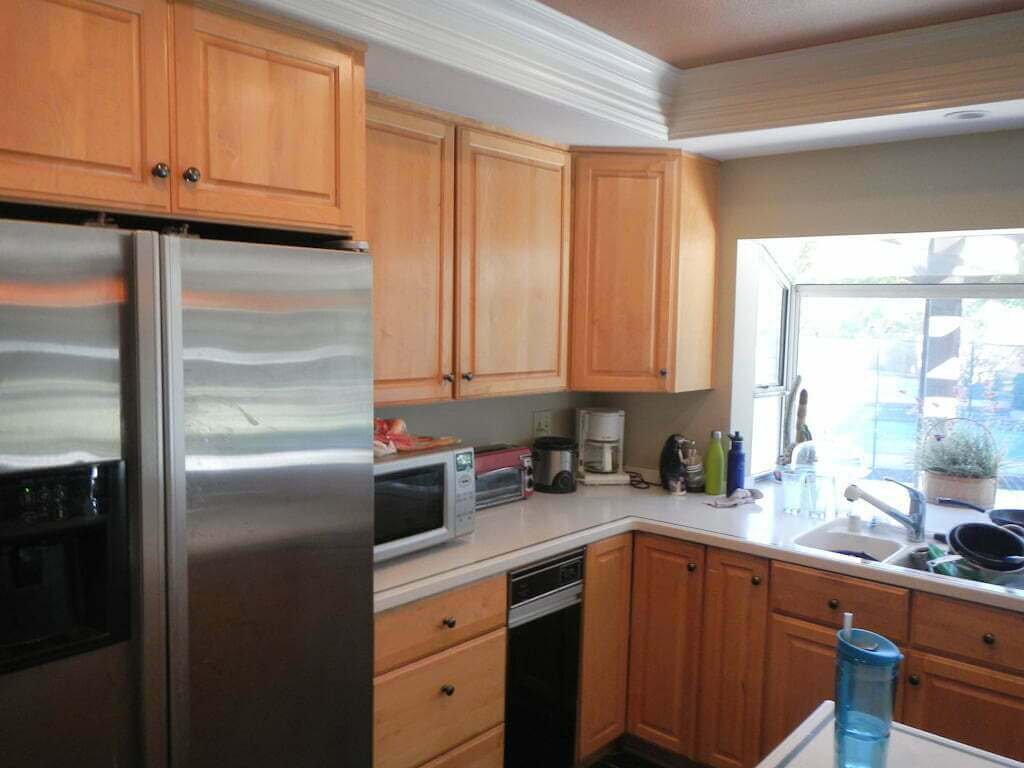
#2: Removing the wall.
By removing the wall where the fridge was located, we were able to open our kitchen up into the Great Room. This also created a more open feel around the sink area and allowed us to add a second kitchen island.
fruit bowl | vase | brush | Can you guess the least expensive update we made in our kitchen remodel?
KITCHEN REMODEL BEFORE & AFTERS
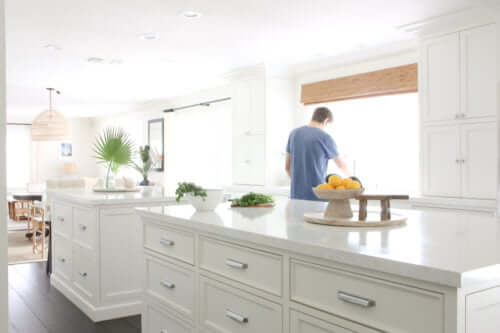
#3: Extension towards the Great Room.
This is the view from the Great Room towards the kitchen. (The wall view you just saw in #2 is on the other side of this wall.)
By removing the wall during our kitchen remodel, we were able to not only extend the kitchen by 16 square feet, but we were also able to add a second island! (Not to mention completely changing the look of our entire downstairs!)
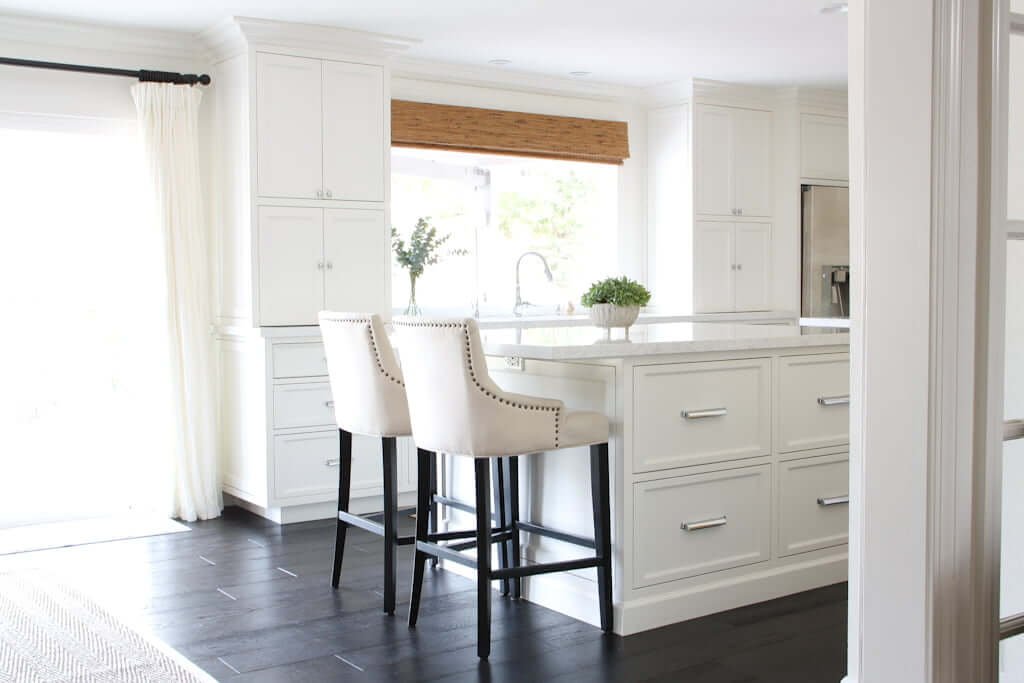
vase | planter | brush | barstools | The Complete Drawer Guide
➜ Need immediate kitchen help? Get our Kitchen Design Bundle (2-in-1!) right now!
KITCHEN REMODEL BEFORE & AFTERS
#4: Extension towards Fireplace Room.
If you took our “before” tour of the downstairs, you’ll remember that this is the hallway coming from our garage into the kitchen.

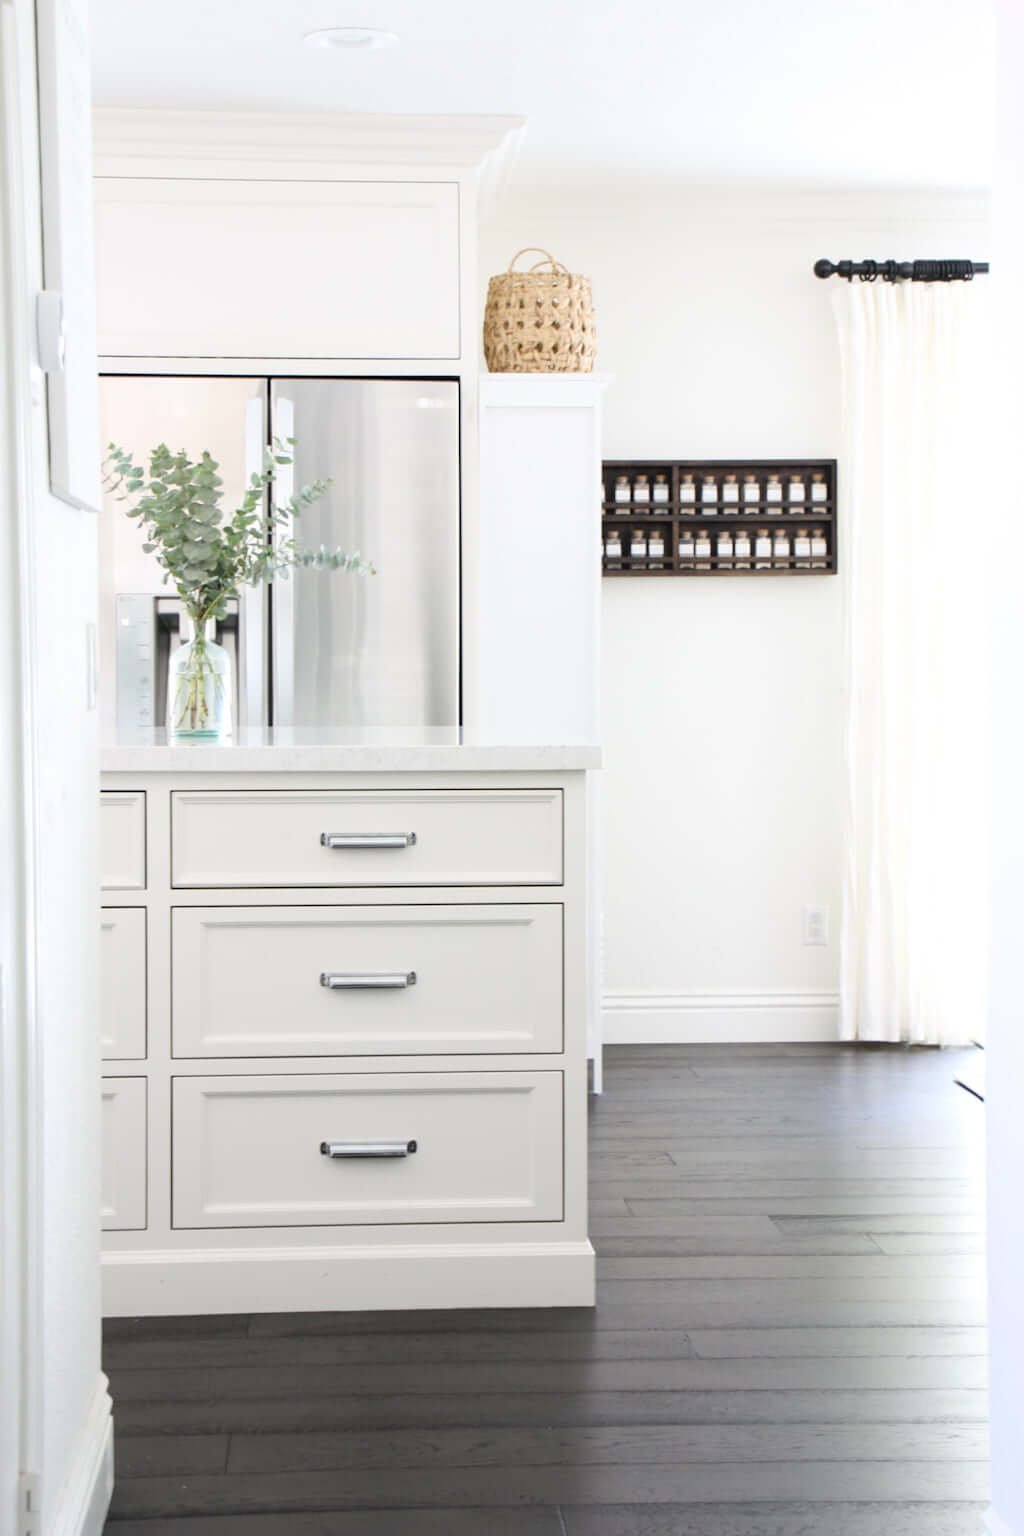
vase | 5 Genius Reasons You Need Drawers Instead of Cabinets!
Here we
- Removed kitchen nook dining area (we only wanted one main dining area) and window.
- Relocated fridge to back wall.
- Added upper cabinet storage.
- Extended kitchen island area into open space between the kitchen and the fireplace room.
The amount of kitchen storage we have now is ALMOST UNBELIEVABLE. We have heaps of kitchen stuff and yet we still have empty drawers and cabinets left over! (We’ll go into allllllllll the kitchen storage, drawers, and organization another time. You know we’ll have tons to show you there!)
KITCHEN REMODEL BEFORE & AFTERS
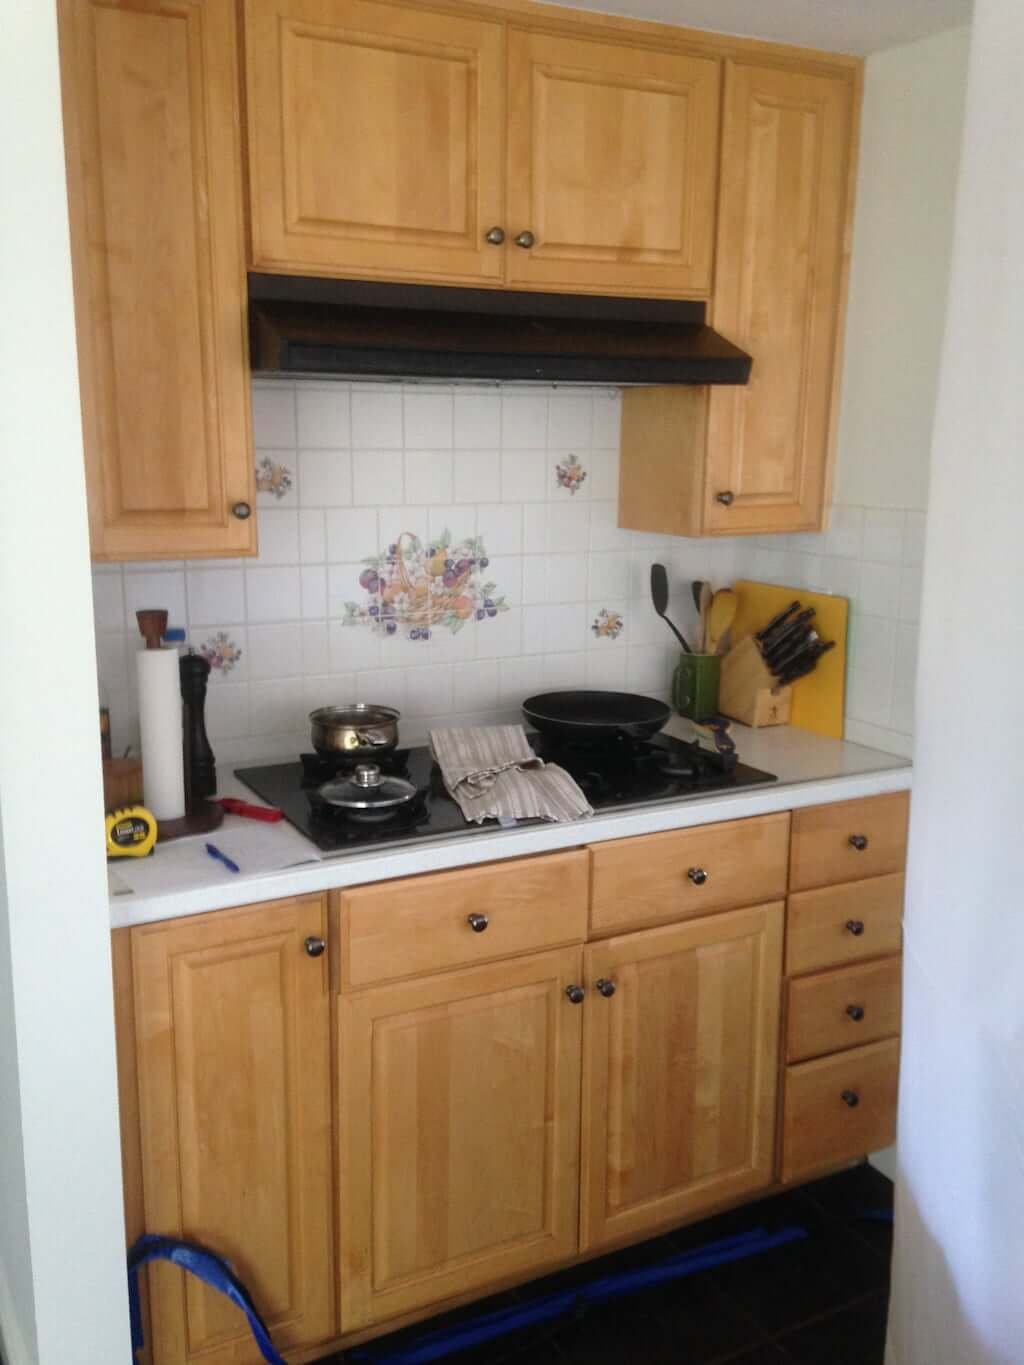
#5: Stove area.
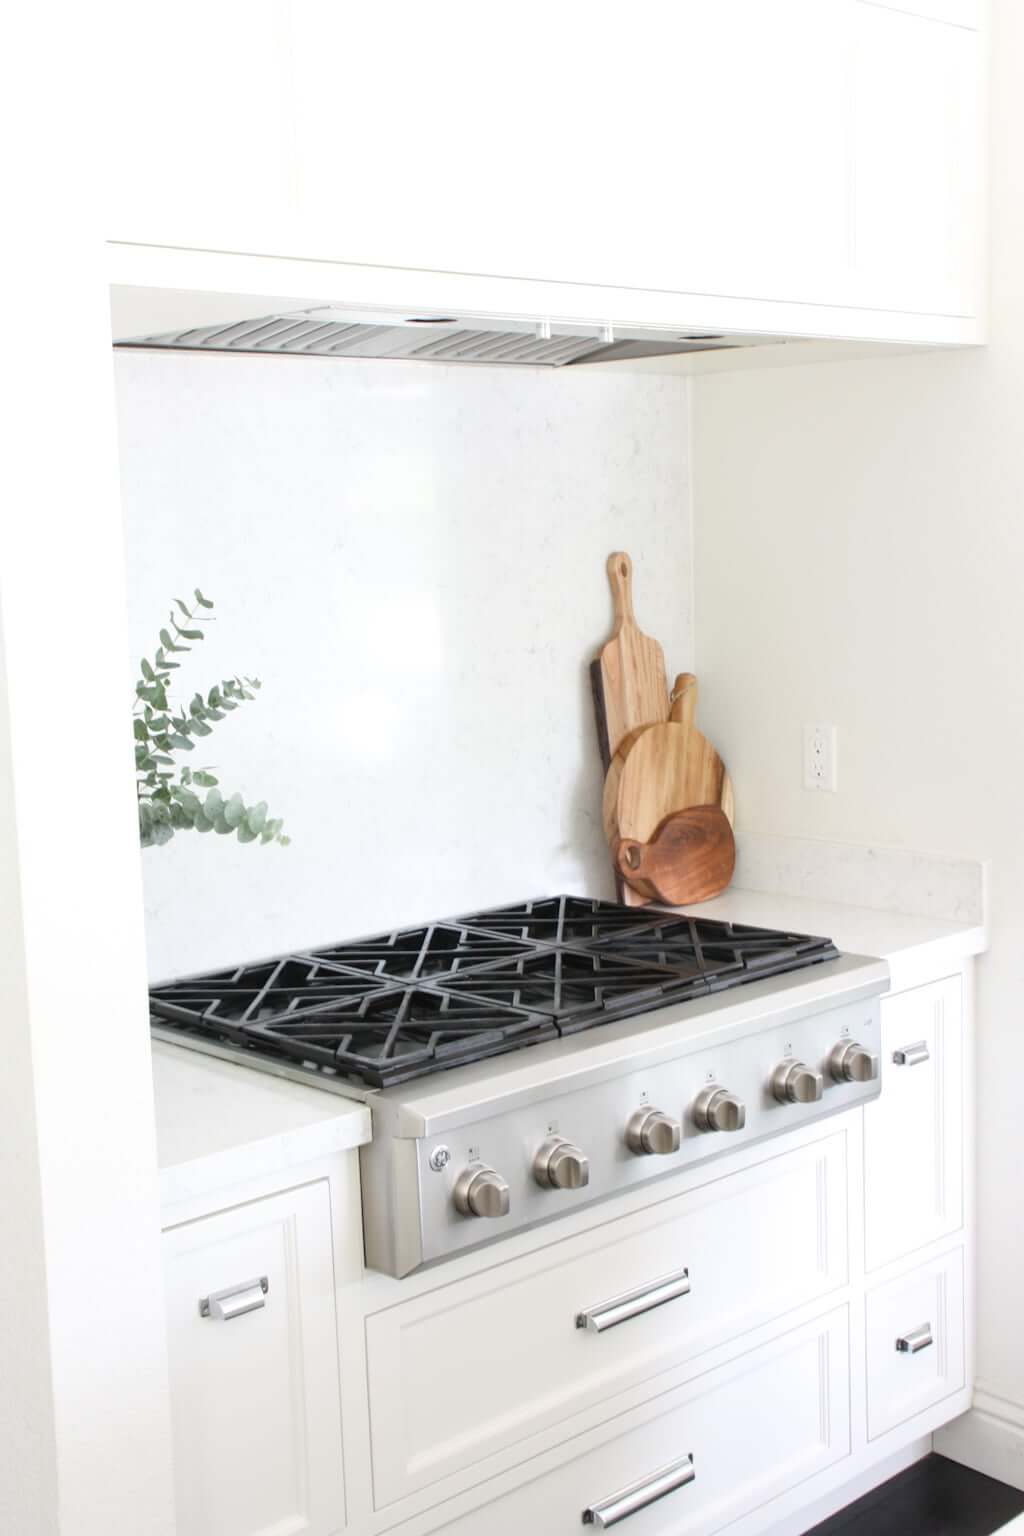
cutting board | cheese board | serving tray | Pull Out Spice Rack Cabinet Drawer Plans
We wanted a cleaner look here—without all the upper cabinets. I know, I know…to some of you it may sound counter-intuitive to remove storage, but trust us. We maximized so much of the kitchen space and the drawer interiors that the storage potential was almost unlimited! Just wait…we’ll show you soon. (I’m speaking in my soothing voice now and petting your shoulder in my most friendly way…can you feel it? Can you hear it? Good!) Trust Matt and Jess. We wouldn’t steer you wrong!
Admittedly, it was a challenge to work with this stove space since we couldn’t take out the walls to either side of it. (There’s the hallway to the left and the pantry to the right.) We were quite limited in our options. If you go back and look at the overall before & afters, you’ll see there wasn’t any other place to put the stove.
- We couldn’t put it where the sink was—we wanted to leave that big gorgeous window to the outside there!
- We couldn’t put it in the middle of this wall because the pantry is there (and the only reason we’re able to have the walk-in pantry is because it goes under the stairs—and we are NOT moving those!).
- We didn’t want to put it on the island countertops. Ruin all that glorious, luxurious open island space with a stove in the middle? Not for us!
Sometimes in a kitchen remodel, you just gotta work with what you have. (It also helped keep our budget lower because we didn’t have to move gas lines and venting! Woo-hoo!)
KITCHEN REMODEL BEFORE & AFTERS
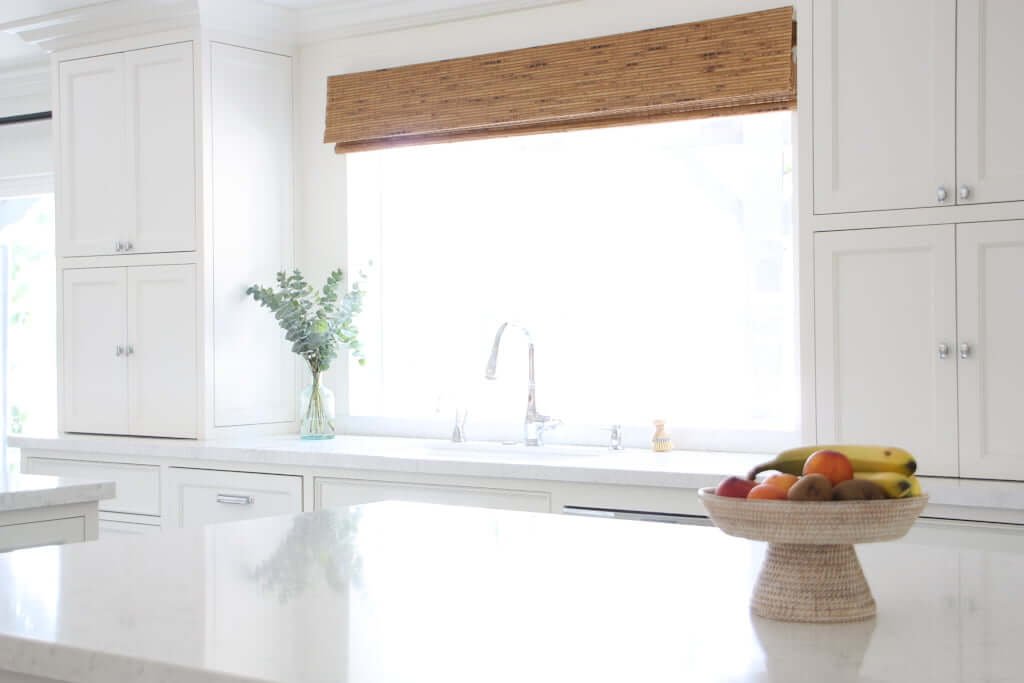
#6: Sink area.
This is one of the few things in the kitchen which did not change location. We left all our sink and dishwasher plumbing essentially in the same place.
The biggest change we did make here was to replace that old 1980s window with a big, clear, seamless picture window above the sink, looking out to the backyard and the new pool!

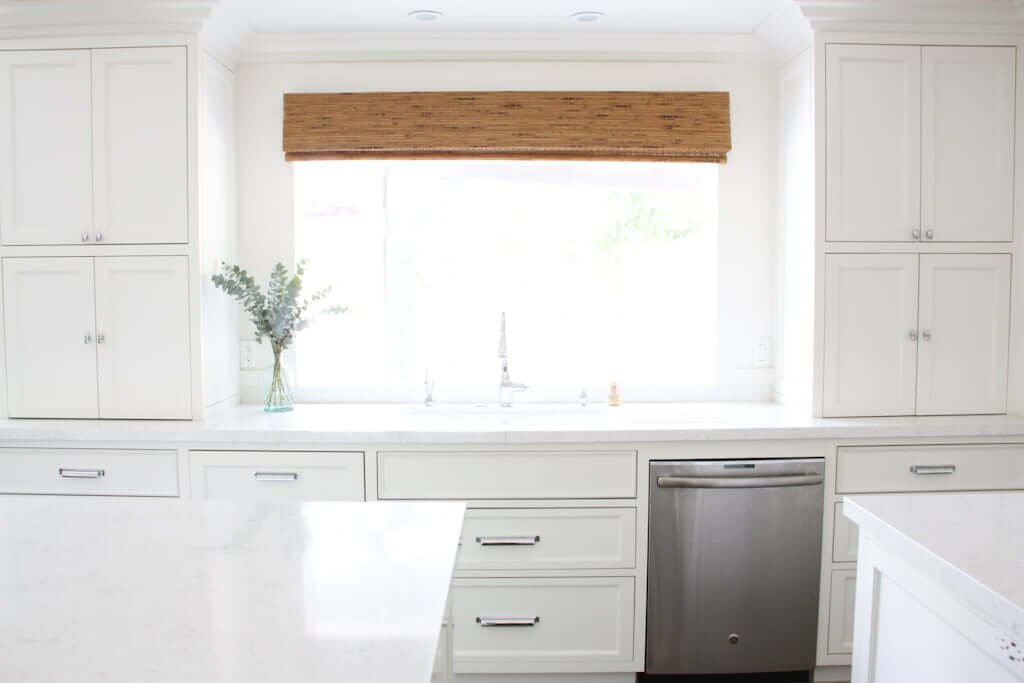
vase | brush | 7 Perks of a Built in Countertop Drainboard!
Before we go, I do want to draw your attention to the shade above the picture window above our sink:

- You knew I was gonna want something island-y.
- I also did NOT want something with cords that would hang down into my dishwashing/drying area.
- My answers were found in a cordless roman shade from Home Depot that’s easy to use (even if I do have to stand a little on my tippy-toes to reach it, but Matt doesn’t, and not having the cords hanging down is worth it to me).
There! I summed that up in 3 points. Aren’t you proud of me? I could have rambled about my Kitchen Sink Windowshade Love for paragraphs and paragraphs…
KITCHEN REMODEL BEFORE & AFTERS
#7: Several more…
To see ALL our kitchen posts, click HERE!
Or click below for
- 5 kitchen organization ideas that make life easier!
- Why we did 100% kitchen drawers instead of cabinets.
- Our 3 cabinet storage solutions every kitchen needs!
- How we made our kitchen look bigger!
- Why did we do so much white? 7 Strategies for Choosing Interior Paint Colors!
If you love a good Before & After, check out our hugely popular bathroom remodel or this stunning kitchen remodel by my friend Jenn. (Or if you missed seeing our rooms on either side of the kitchen, you’ll want to see how our dining room and our living room fireplace turned out!)
➨ To see ALL our house projects, click HERE.
👇
➜ We created 3 kitchen guides to help you get the kitchen you’ve always wanted!
Get our Kitchen Design Bundle! (2-in-1!)
*This post contains affiliate links, which are no extra cost to you but help us keep this site alive.


What sheen of pain did you use for your white cabinets? I currently have satin sheen on my white cabinets, but I found it hard to keep clean without taking the sheen of the paint off…wondering if I should use semi-gloss when I remodel, or will it be too shiny?
I love the wood floors – can I ask what type/stain they are?
Hi Caitlin, the floors are a wire brushed oak with an ebony finish.
Love this blog so much! It’s definitely turned into one of my happy places after a long day at work. Thank you so much for sharing your home renovation journey with us, and more importantly all your tips, tricks, and expertise learned along the way! Would you mind sharing your kitchen wall paint color and trim? I know you’ve shared that your beautiful kitchen cabinet color is BM Swiss Color however, what colors are your kitchen walls, trim, and ceiling? Are they also BM Swiss Coffee or something different? Lastly, is your dining room wall paint color a continuation of the same kitchen wall paint color? Do you recommend painting kitchen cabinets, walls, trim, and ceiling the same color? Thanks, Jess!
The beautiful difference is visible from all over the kitchen! Loved the kitchen!
Thank you!
Beautiful Kitchen! Loved the way it turned out!
Thank you!
Hi there – LOVE your kitchen! I am going to put in dark floors in my kitchen as I have white cabinets. Where did you buy your floor and what color is it?
Love this site and what you have done especially in your kitchen. I am not a fan of pendants as my kitchen opens into my family room. I was wondering what countertop you used? Also, love the warm color in the bedroom. Can you please share the names of both? Thank you so much!
Hi Sharyn! Thank you for the blog love! 🙂 I’ll have to look up the exact name for the countertop…stay tuned! By “warm color” in the bedroom do you mean the wall paint color?
Hoping to do something similar in our new to us kitchen, but not sure we have quite enough space. How far is it between your cabinets and the island?
Hi Lisa! I believe there’s about 3′ width in there, sometimes a little more depending on which area (have a lot of different walkways in our kitchen! 🙂 e.g. between stove & island, between islands, between island and fridge, etc.).