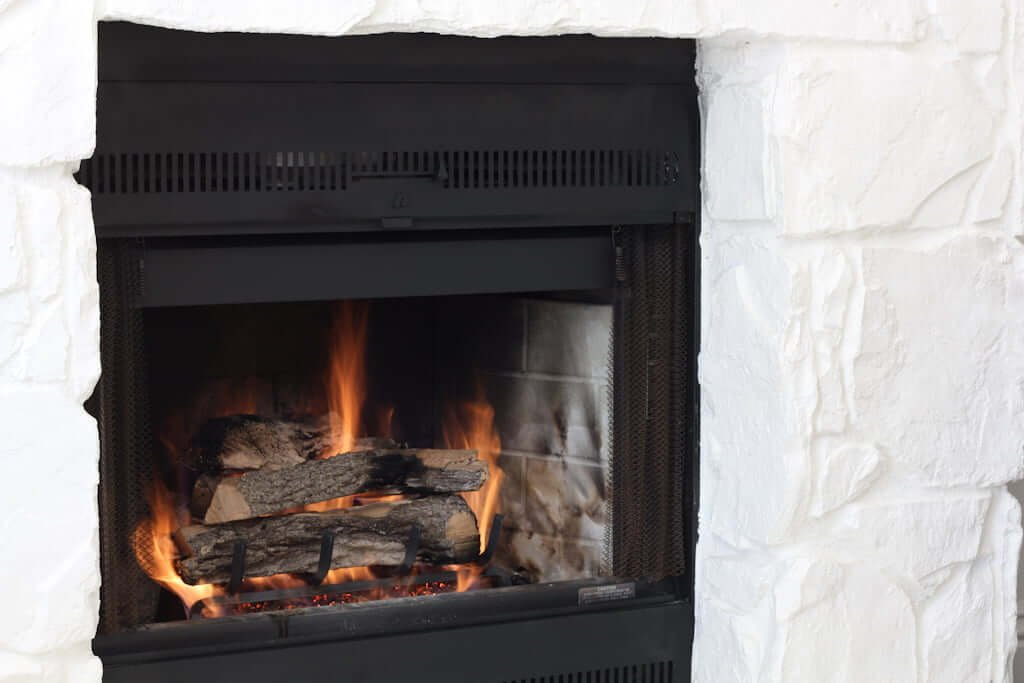
Do you hate storing wood, lugging it inside, trying to keep it dry, and dealing with smoke? Well, we sure did! Those are just a few of the reasons we decided to go with converting to a gas fireplace from our wood-burning one.
See all the reasons why we converted to a gas fireplace here, and how we chose the perfect, most realistic-looking fire logs. After a few years of buying wood, trying to keep it from getting infested with bugs, and hoping that it burned well instead of just smoldering in the fireplace, we decided to convert our existing wood burning fireplaces to gas burning with a gas fireplace kit.
I know it could seem daunting to think about installing a gas fireplace kit, but the process is quite simple, and I’ll detail it all out to make it easier for you.
CONVERTING TO A GAS FIREPLACE
“How much time should this take?”
If you do all your preparations ahead of time, it will only take a couple hours from cleaning to installation. However, if you decide to paint the firebox, then you will need some extra time between cleaning and burner installation for drying. Either way, this project can easily be done in a weekend.
CONVERTING TO A GAS FIREPLACE
Step 1: Measure the fireplace.
Before you get started into performing any actual work, you need to take a couple quick measurements and confirm your gas line is installed. If you don’t have a gas line, you can call a local contractor and inquire about the cost to add a gas line to your fireplace. First measure the width of the back wall and then the depth of the firebox.


CONVERTING TO A GAS FIREPLACE
Step 2: Order fire log kit.
When you have your measurements, you now can order the correctly sized fire log kit. The kits come in varying sizes, so compare against your measurements to make your selection. Look at the inserts below (they include both the logs and the burner set) and choose the best model that fits.
NOTE: You can buy the burner and logs separately, but it’s less expensive to buy the combo kits below! (You’re welcome.)
The most realistic-looking gas logs we found:
(the 4 different sizes are linked in the below pics)
18″


We chose the 18″ Split Oak fire log set as we thought they had the most realistic wood look in the fireplace (both with and without fire!). (Jess outlines that in more detail here.) Now that you’ve ordered and received your burner kit and fire logs, let’s get to cleaning.
CONVERTING TO A GAS FIREPLACE
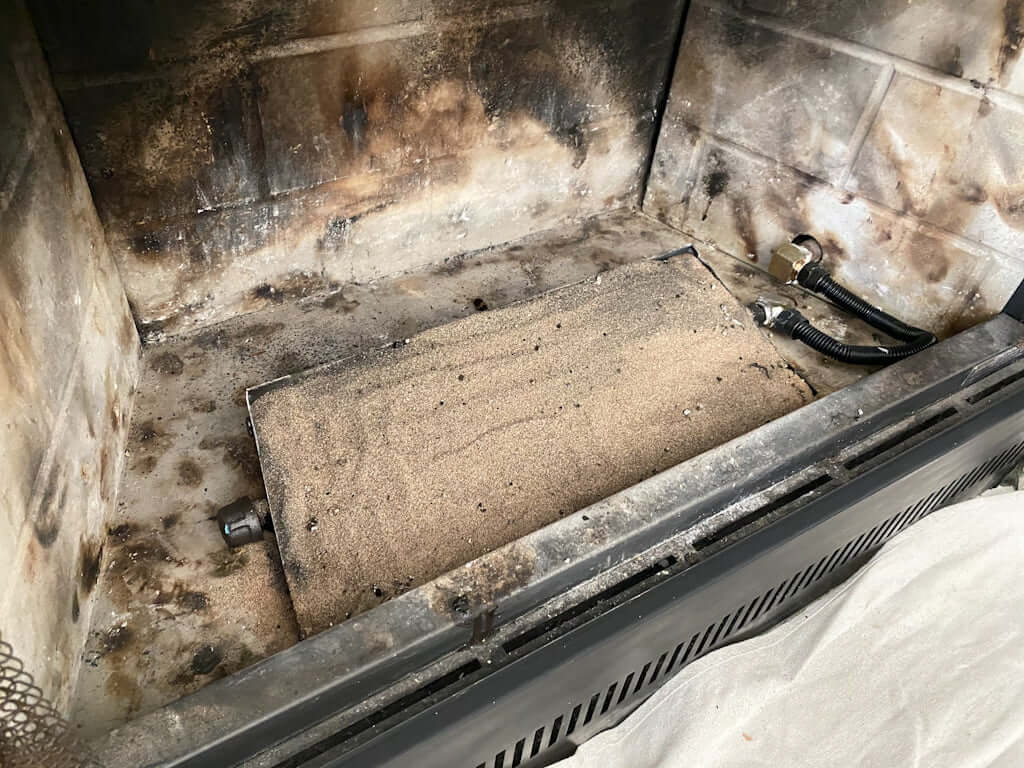
Step 3: Cleaning the Fireplace
First off, a quick cleaning of your existing fireplace is a good place to start depending on how well used the fireplace has been. If the fireplace has been used often as a wood burning fireplace, the flue and chimney will need to be cleaned along with the fireplace.
If you are an avid DIYer, you can purchase a chimney sweep kit like this one and attach to your electric drill to knock down any soot in the flue. This is a necessary step as the soot in the flue has the potential to ignite if it has built up, so…safety first. If you lack the brushes or are uncomfortable with cleaning the fireplace, a quick call to a local fireplace store will get you setup. (A cleaning will typically run you between $125-$175, depending on where you live.)
Cleaning Tools & Materials:
Instructions:
- First, lay down an old sheet or drop cloth in front of the fireplace to protect your flooring or carpet. Put on your mask.
- Using your brush and dustpan, scoop out all ashes into a bucket or paper bag.
- Once most of the ash is gone, take a stiff brush and brush the walls to knock down as much of the soot stuck there.
- If you have a vacuum with a hepa filter, use that to vacuum out any small bits remaining. Otherwise, just grab a wet rag and wipe away.

With the fireplace clear of soot and ash, you now have two options:
a) Leave the fire marks on the fireplace or b) paint it.
We chose to leave the marks (why we chose to do that that is discussed here!), but if you want to paint the firebox, go to Step 3 below. Otherwise, skip ahead to Step 4!
CONVERTING TO A GAS FIREPLACE
Step 4: Painting the Firebox (optional)
Mix equal parts vinegar and water in a spray bottle. Spray directly on the firebox walls and floor, then scrub away. Wipe down with a rag to clean out after scrubbing and let dry.
To paint, you’ll need:
- Old sheet or drop cloth
- A heavy nap paint roller and tray
- High heat black paint
- Gloves
- Mask
- Safety glasses
Once the firebox is dry, mix your paint up, pour into the paint tray, and get rolling. Apply the paint to the walls and floor of the fireplace, being sure to follow the paint application directions. Once coated, let dry. Then you’ll have an even black background to accentuate the clean burning gas flames.
CONVERTING TO A GAS FIREPLACE
Step 5: Installing the Burner
Open your gas fireplace kit and pull out the burner assembly.

Next to your fireplace, prep the assembly parts, along with the below tools and materials.
Tools & materials needed:
1. Install damper clamp.
Take the damper clamp and install on the damper to prevent closing. (The damper clamp keeps the damper open in the event the flue position is moved to closed when the fireplace is lit. This will prevent the exhaust fumes from leaking out into the room.)

2. Pre-assemble the burner.
Next, assemble the burner before placing into the fireplace. Apply some thread sealant around the burner assembly threads, then screw on the 90 degree adapter to finger tight. Once finger tight, use your wrench to tighten on a few turns with the threaded part facing to the front of the burner. Apply sealant to the threaded portion and screw on the flexible hose. With the hose attached, gently flex the hose to a “U” shape to connect to the gas line in the fireplace.
3. Install the burner.
Place the burner system into the fireplace and ensure the gas is OFF. Next, insert your key into the gas shutoff on the wall and twist it tightly to the right to turn off. (Remember “Righty tighty, lefty loosy.”)
Center the burner in the firebox with the hose near the gas line. Use your adjustable wrench to remove the cap on the gas pipe. Add thread sealant to the threads on the gas line; then screw on the remaining 90 degree adapter. Finally, add thread sealant to the threads on the adapter, then connect the hose.

4. Test gas connections.
To ensure the fittings are tight and there are no leaks, mix a solution of soapy water into a spray bottle and then spray that onto each fitting. Ensure the flue is open, then turn on the gas slightly. If bubbles appear around the connections, that means they need to either a) be tightened further or b) removed and additional sealant applied. Once no bubbles appear, then it’s time to structure the fire assembly.

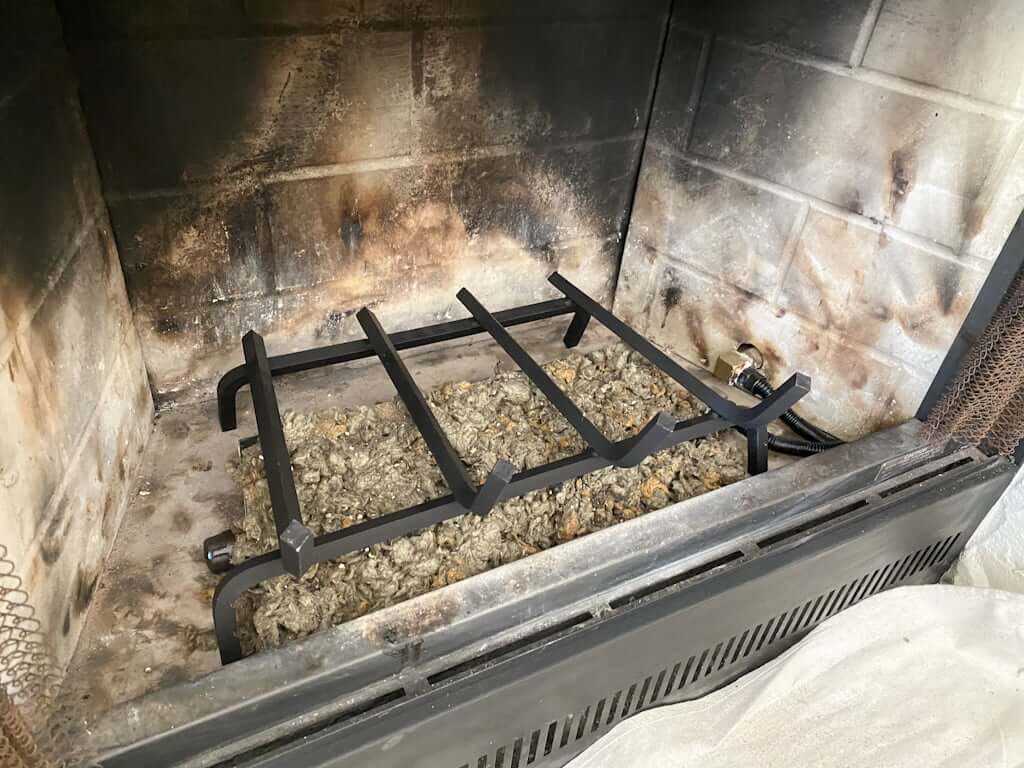
5. Install sand, embers, & grate.
Ensure the grate fits over the burner assembly where it’s placed. Connect the grate clips to the grate positioned over the burner. Remove the grate and open the sand. Pour the sand into the burner covering the gas pipe. The sand will be sloped from back to front with the burner. The sand helps to distribute the gas in the fireplace.
Take the bag of glowing embers and distribute evenly over the sand. This gives your fire more of a realistic look.

Place the grate over the burner, ensuring that the clips mount over the edge of the burner.
6. Place logs.
The instructions with your log set will have different variations of placement of the logs. If you’ve chosen the Split Oak Logs (like we did), then you can mimic our placement (Jess created her own layout for the logs) or go with one of the manufacturer’s log layouts.
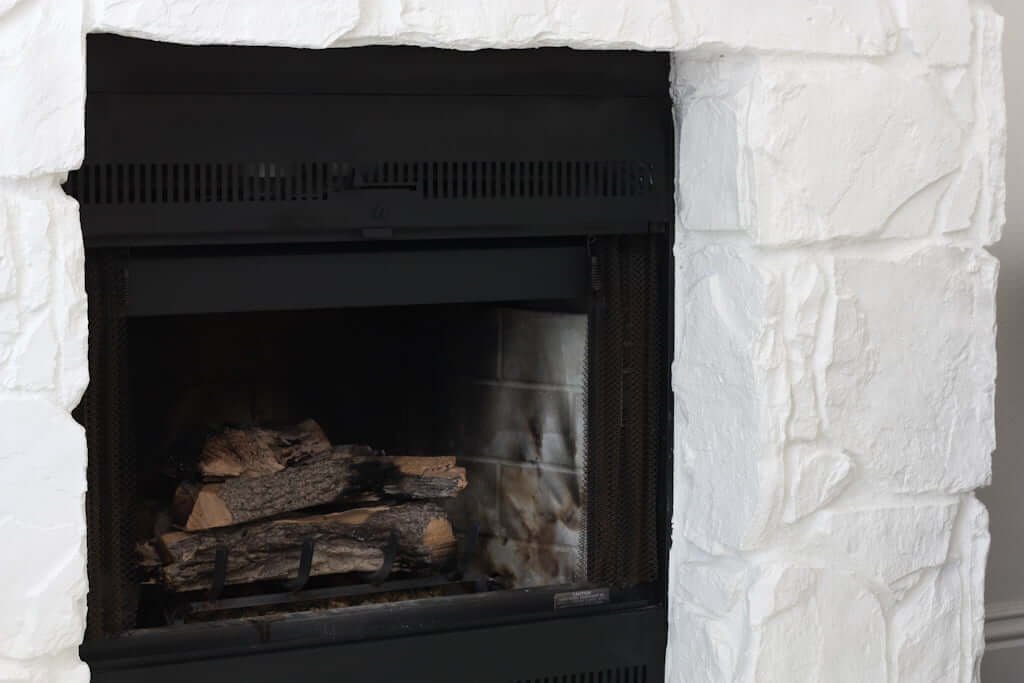
You did it! You’ve now converted your wood burning fireplace to a gas fireplace. Congratulations! Now clean up, light the fire, pour a glass of wine and enjoy!
Next…
To see why we converted to a gas fireplace in the first place, read here! We also have a post describing how and why we painted our stone fireplace.
- Don’t forget to join our Insider’s List and get our FREE Design Guide!
- How to choose a unique pendant or chandelier!
- 5 Simple Tips for Styling a Minimal Fireplace Mantel!
PS: You can see all our house projects on this page.
PPS: If you’d like our help RIGHT NOW on your own home be sure to check out our design guides & plans!
*This post contains affiliate links, which are no extra cost to you but help us keep this site alive!


Doesn’t leaving the flue open allow heat or AC to escape and wind in when it’s not in use?
Hi Matt,
Great question! It is possible that some heat or AC will exhaust, but it is a small opening and is required by code for any potential gas leaks.
Matt
Referring to step “3. Install the Burner”
The 90 degree gold adapter on the right that is connected to your gas line coming out of the wall…did you have to buy that separately or is that part of the G45 kit? If you bought it, what exactly is that called?
Thank you!
Hi Megan, Thanks for your question, yes the 90 degree adapter came with the vented burner set as shown here. If you buy the set with the logs, it will be included.
Does this produce a lot of heat?
Hi Stephen!
Thanks for reading, yes the fireplace produces an excellent amount of heat. The great thing is you can adjust the amount of gas flowing to the fireplace for as little or as much heat as you want!
Pingback: How to Easily Convert to a Gas Fireplace (A Simple Step-by-Step Guide)