Today we’re sharing how we made our own DIY rug ottoman in 5 easy steps!
Wondering how to make a DIY rug ottoman? These usually range upwards of $2,500 when made out of vintage rugs (which have been growing in popularity—see our kilim rug covered ottoman inspiration photos here!).
We created a no-sew, super easy DIY rug covered ottoman “how to” here that anyone with basic tools can make in an afternoon!
(If you missed the story of how we got to this point and how we’ve already saved money on this project, you’ll want to go back and read that first post!)
Once you’ve caught up on that and you’re ready to see the 5 easy steps we took to make our DIY rug ottoman—plus how it turned out!—read on!
DIY OTTOMAN: HOW TO MAKE
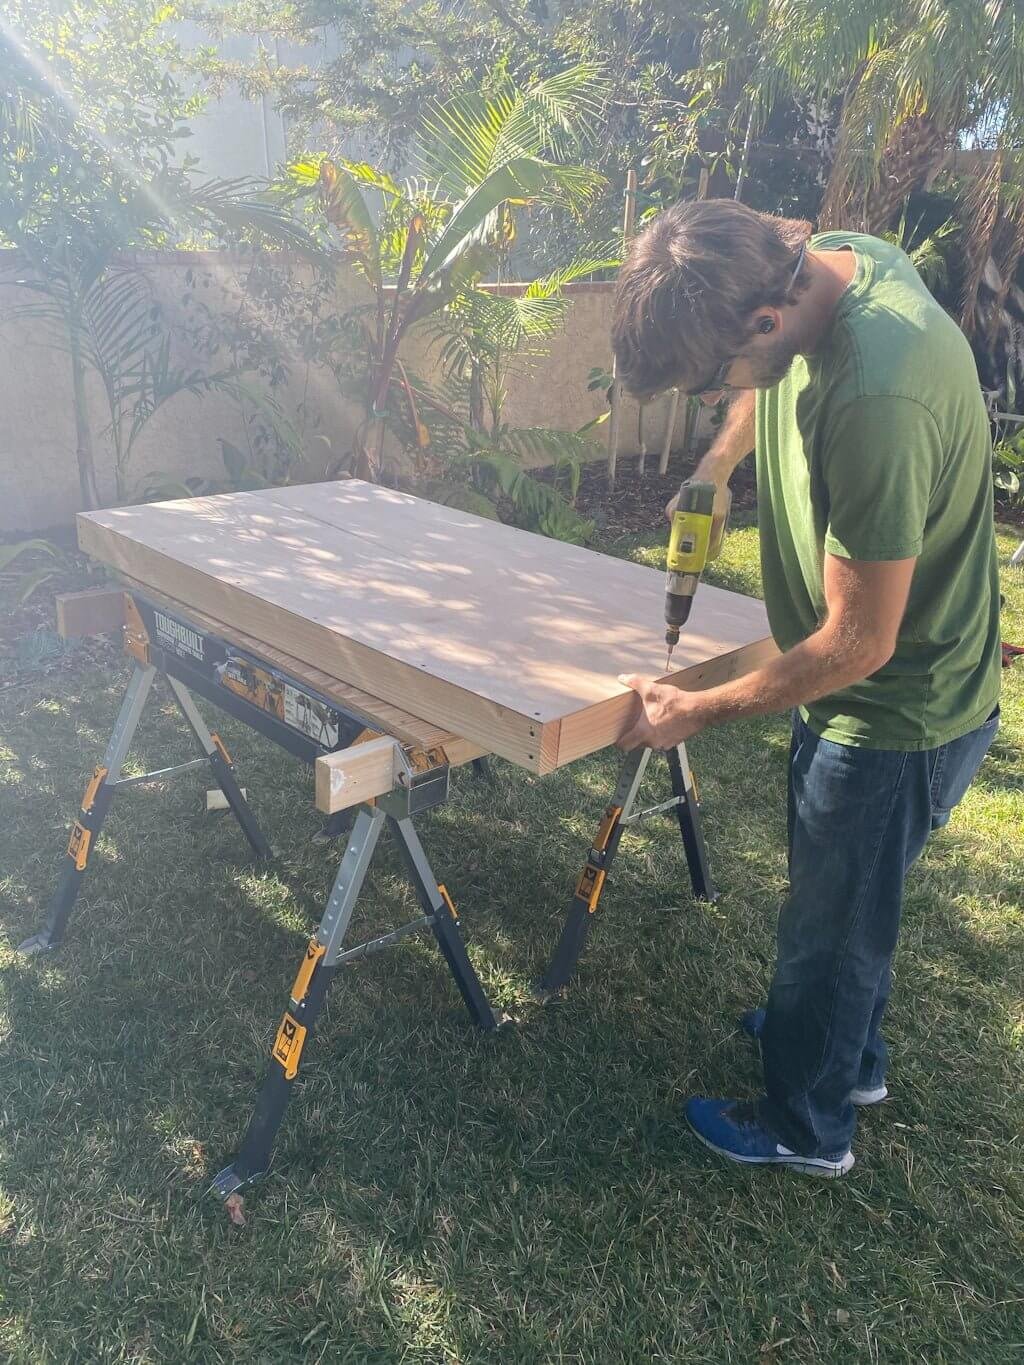
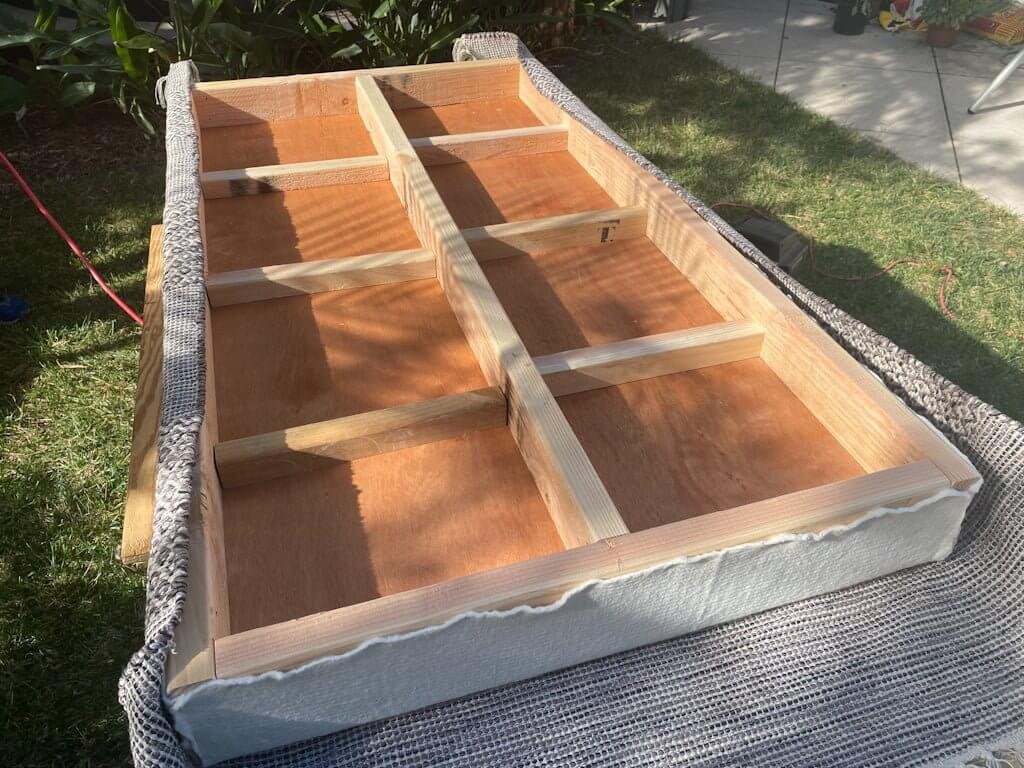
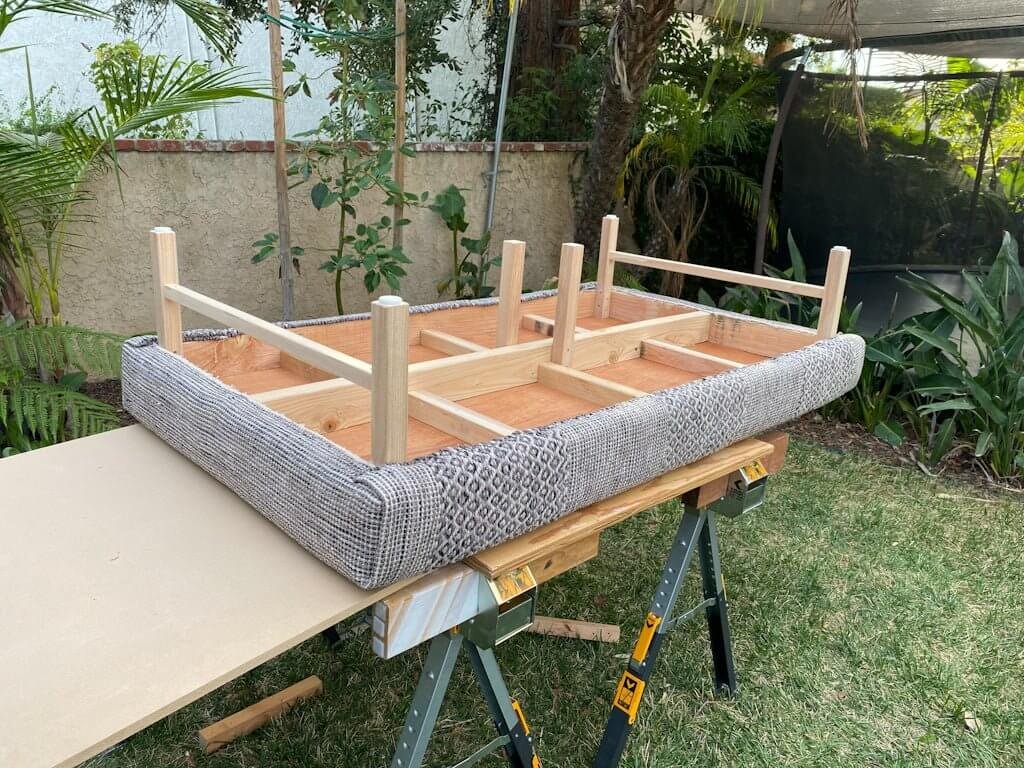
Step #1: Build the support frame.
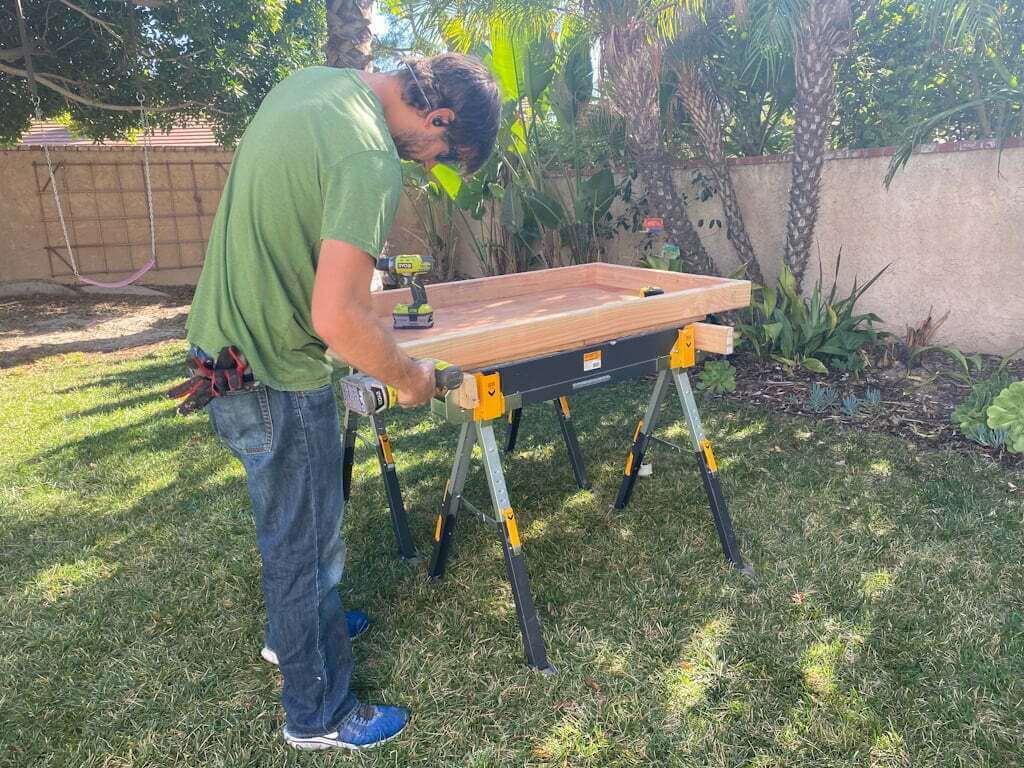
We first built our DIY ottoman frame out of 2x4s cut to our exact dimensions. For the top support, we used 1/8″ underlayment to help reduce weight. We also split some 2×4’s in half for additional strength (without adding a lot of extra weight).
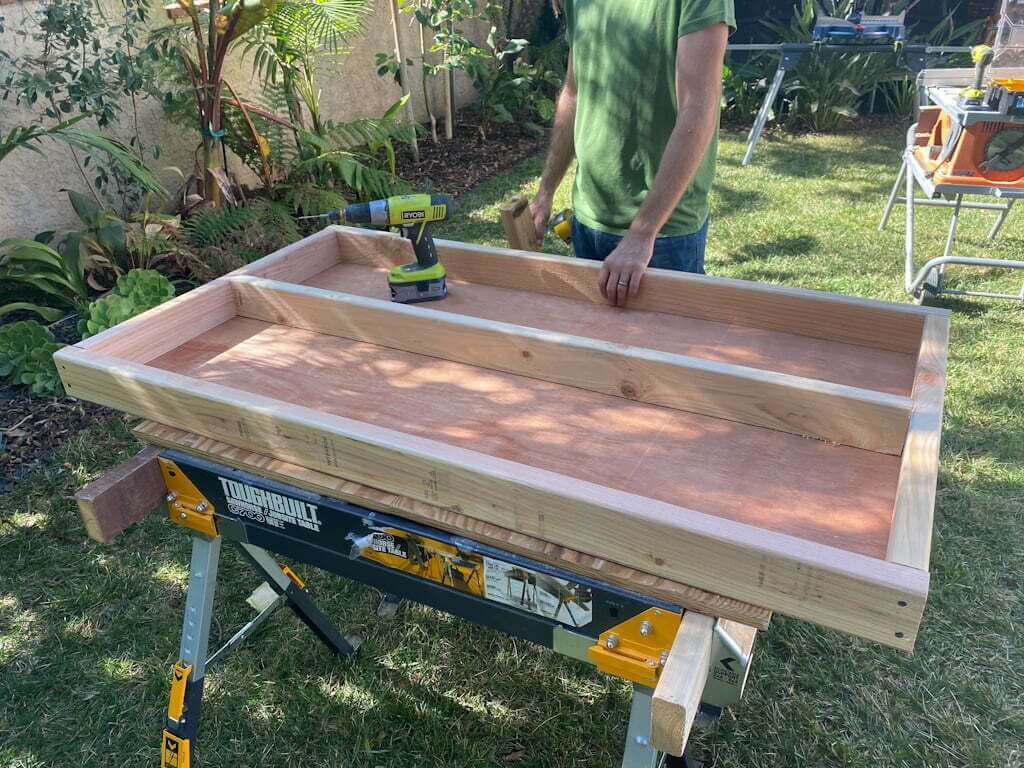
We wanted our rug ottoman to stand the test of kids, so made sure we added a center support juuuuuuuuuuust in case!
RUG COVERED OTTOMAN
Step #2: Attach foam on top.
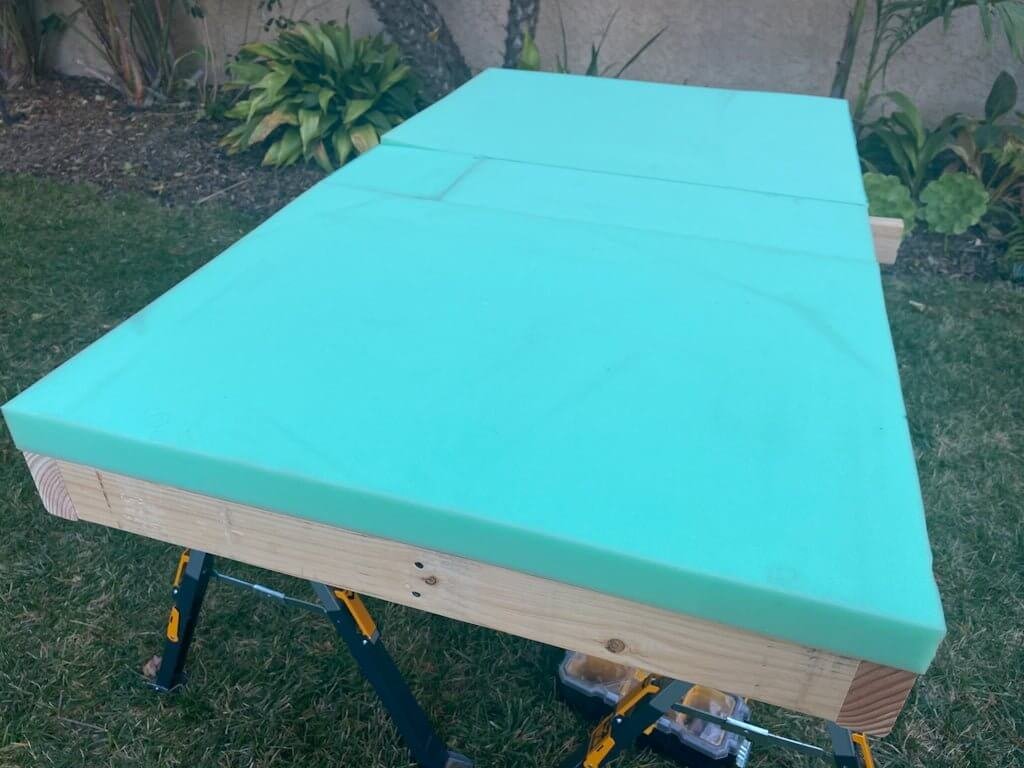
Because there was no piece of foam large enough to fit our custom size, we had to cut some extra pieces from what we had to fit. We attached them together using spray adhesive, then attached them to the top of the support frame.
DIY RUG OTTOMAN
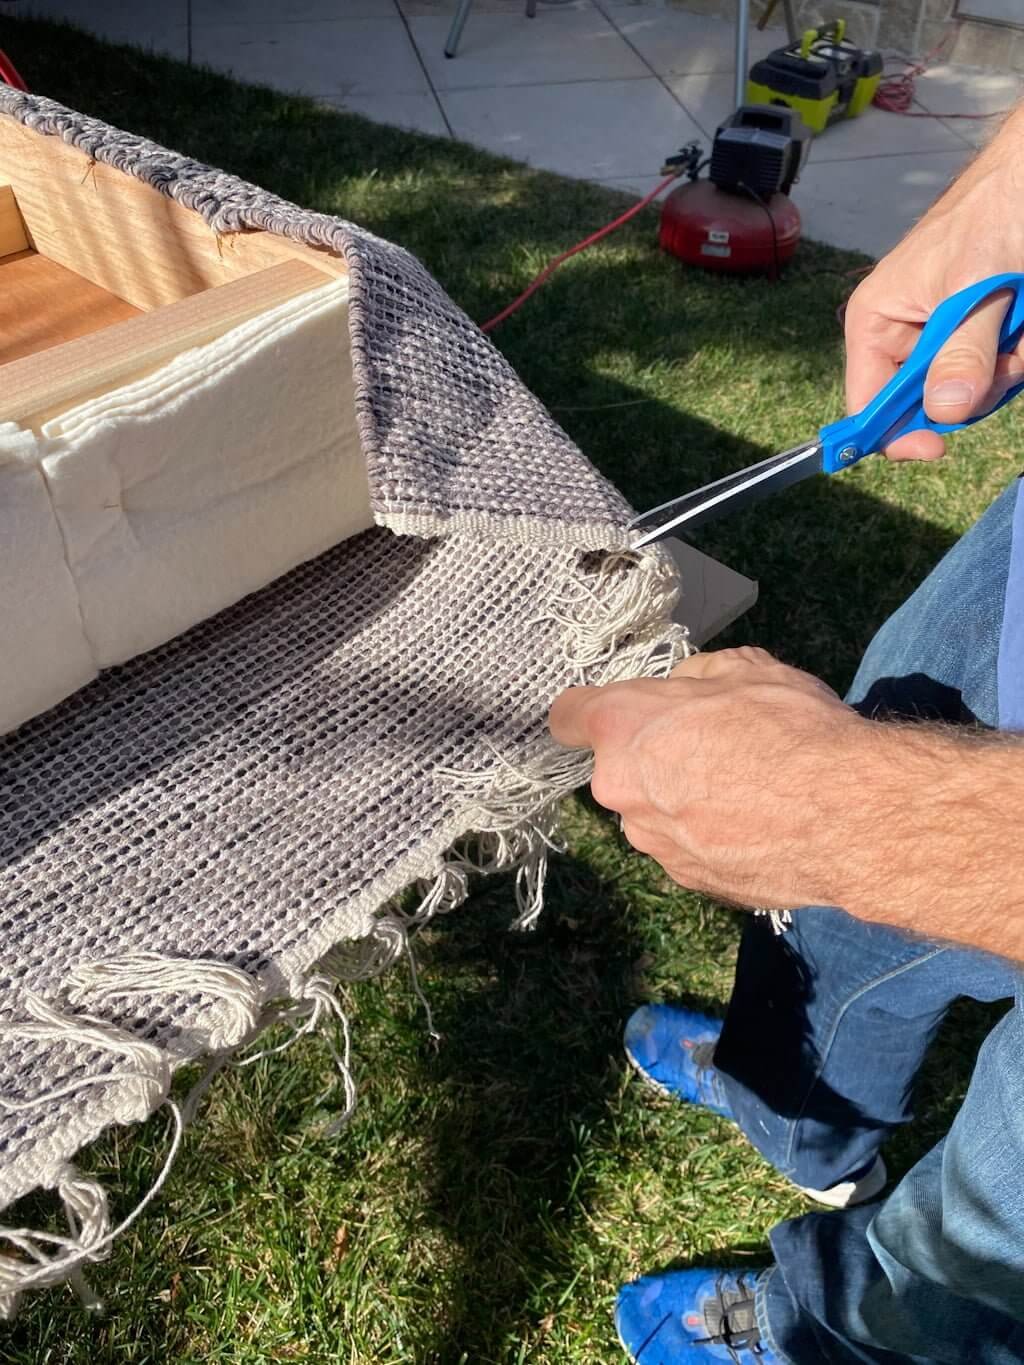
Step #3: Wrap with batting and rug.
In the end, while our DIY rug ottoman will look like it’s a 5″ piece of cushion when we’re finished, the foam is really only 2″ tall. The rest is wood. It’s a visual trick because to get a 5″x33″x57″ area covered with foam would be MUY EXPENSIVO! (One of my degrees is actually in Spanish, and yet I find infinite pleasure in joking around in Spanglish. It’s just made SO much more fun knowing that I know all the correct words, and yet choosing to Spanglish it up. Neverending entertainment for myself!)
So, to make sure the wood frame isn’t too hard beneath the rug material, we added batting. And then we added even more because what we were able to get from the store was just not thick enough.
Then we cut off the rug tassels before stapling on the final pieces to create our DIY rug covered ottoman!
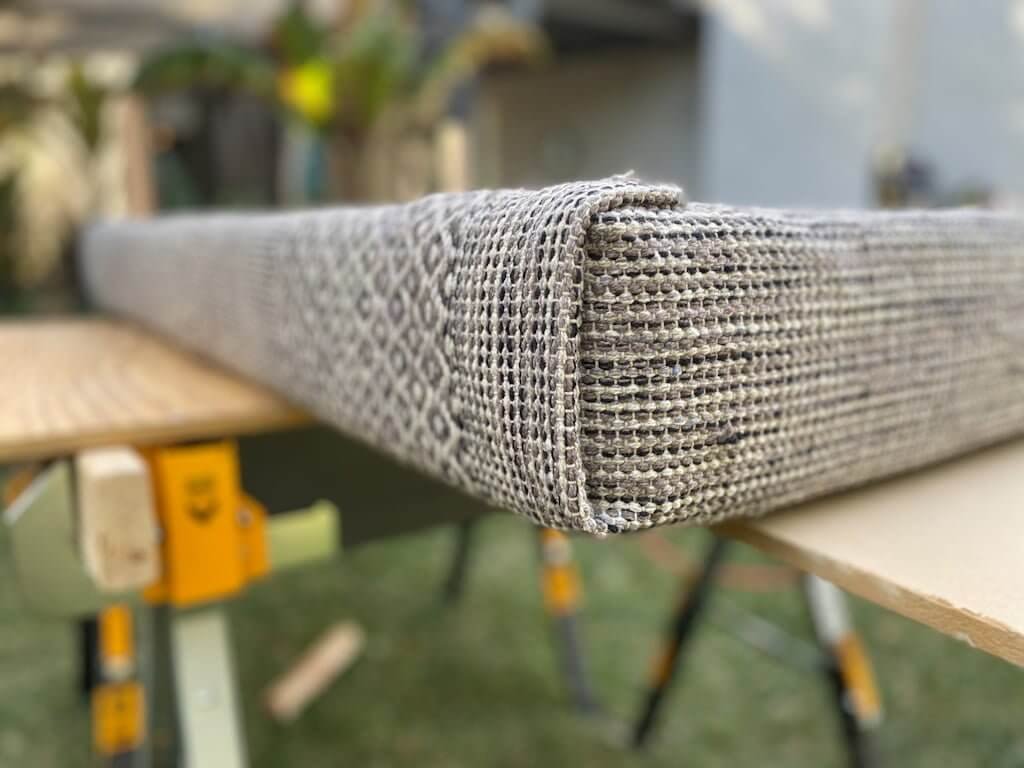
In keeping with the simple look I wanted for this ottoman, we chose to not sew the corners. While I didn’t want our DIY rug ottoman to be totally rustic-looking, I liked the idea of leaving it less fussy-looking.
So we did a simple, neat fold and staple for the corners. It’s exactly what we want!
DIY OTTOMAN
Step #4: Attach legs & crossbar.
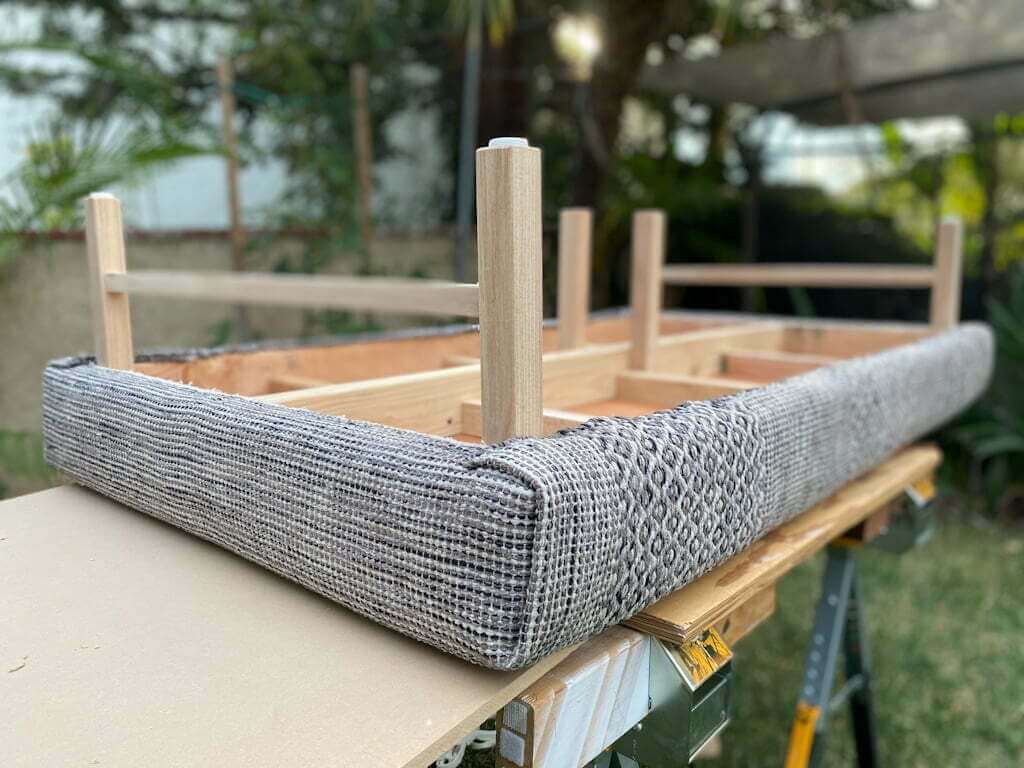
While the inspiration DIY kilim ottoman photos I showed you in this post had metal, U-shaped legs, I didn’t want that. Instead, we did some simple redwood legs on our rug covered ottoman, with a crossbeam.
Matt also added two center legs for extra support, since this ottoman is extra large. We do have two children, and I am 97.3% sure that at some point in future they will be laying on it, jumping onto or off of it, etc.
We may play with the legs more another time if we decide we want to change them (another beauty of a DIY rug ottoman! always easy to change whatever you want later!), but right now we’re totally happy with them!
DIY RUG OTTOMAN
Step #5: Pour yourself a drink & bring your new ottoman inside to enjoy!
We brought our new DIY rug ottoman inside to the family room and boy oh boy, does it look gooooooooooooooooooood!
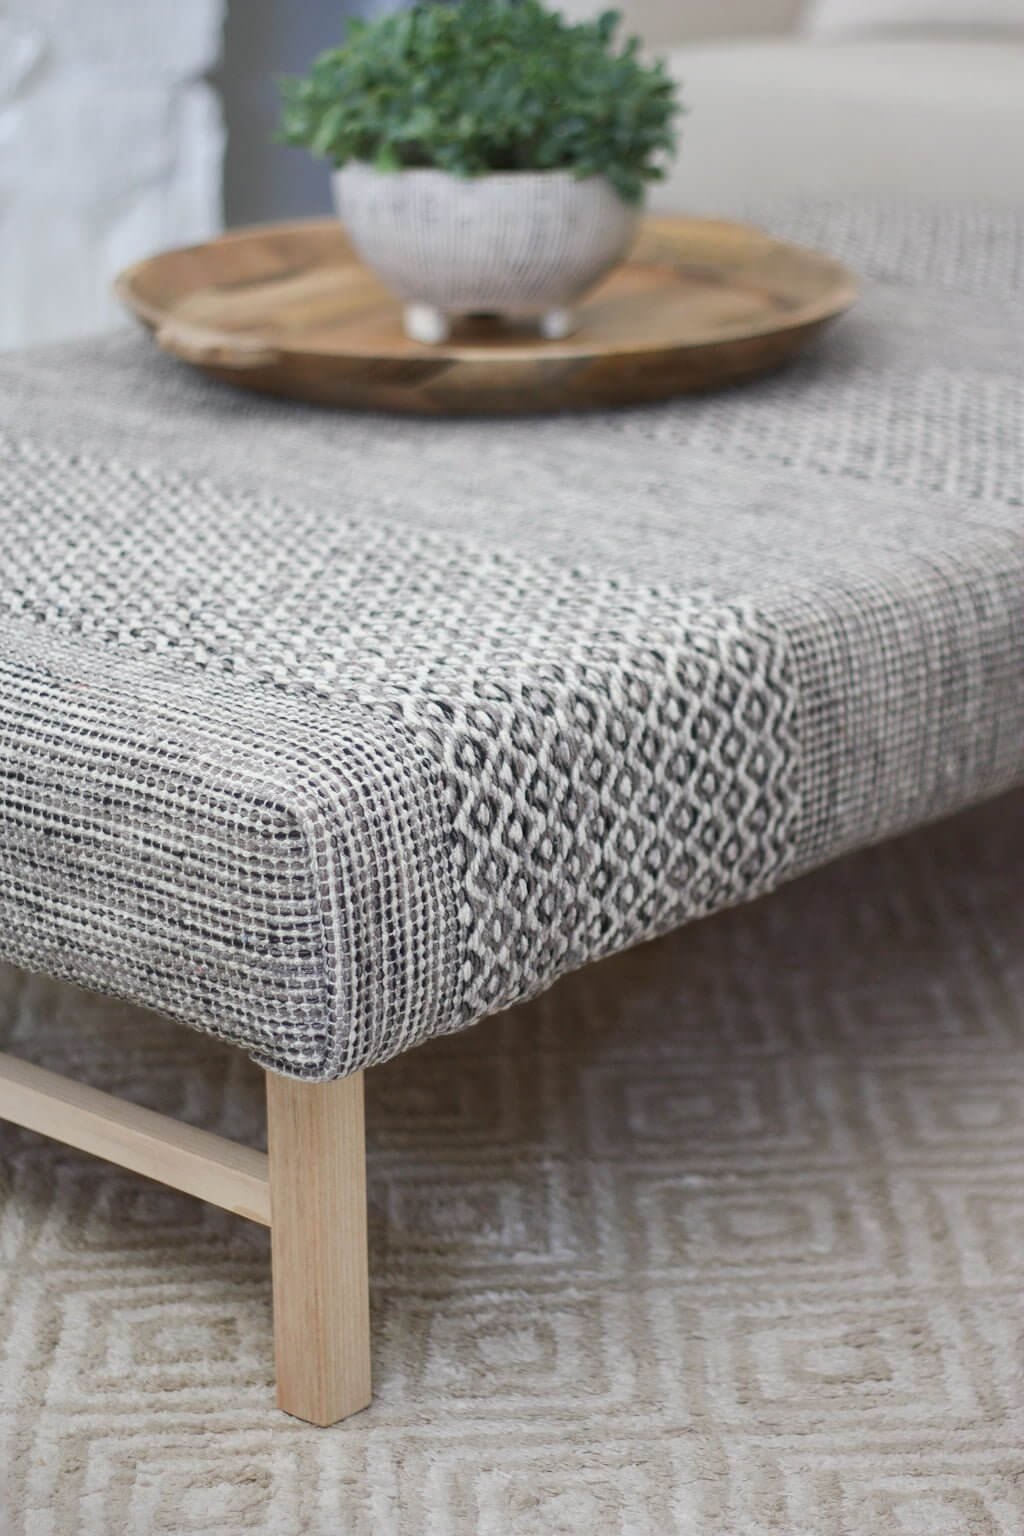
It looks so at home, doesn’t it?!? We need to name him. Or her. Any suggestions?
It’s still possible we’ll do something more to the legs, but we also might just leave them. I haven’t decided. We could stain them, whitewash them, paint them, rough ’em up to look even more weathered and rustic…so many options.
But right now, we’re just enjoying our “kilim” rug ottoman the way it is!
DIY KILIM RUG OTTOMAN
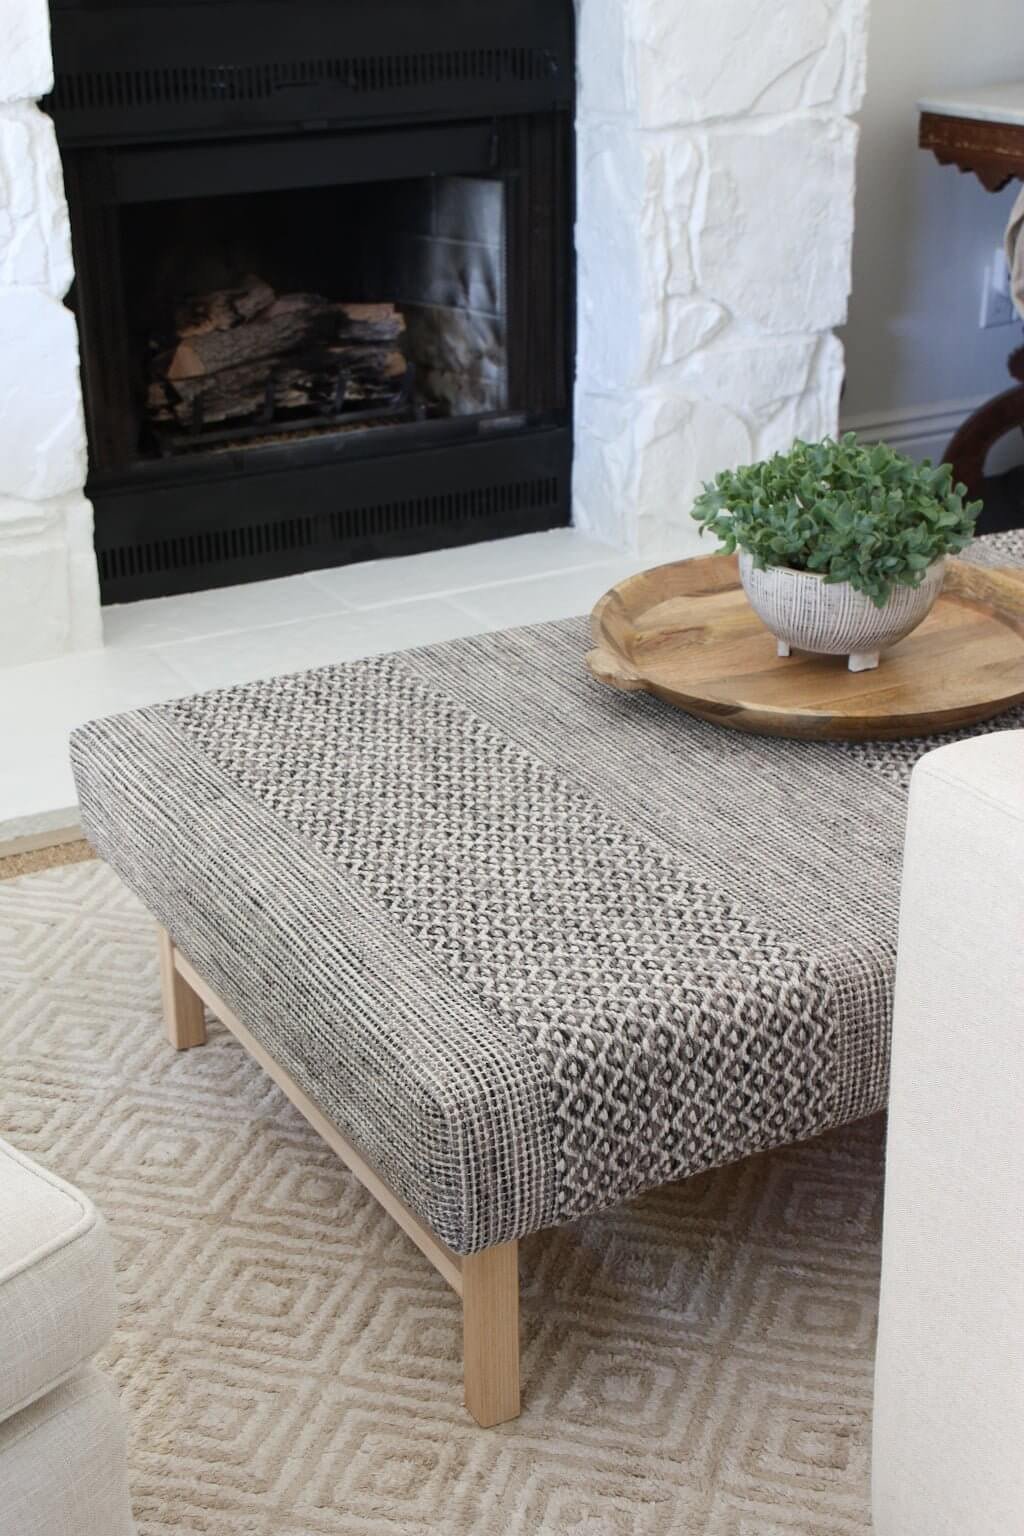
It fits perfectly in the space. No more awkward sizes from store-bought ottomans in here!
And when you look at our rug ottoman within the context of the entire room, you can see how well it works! It brings the warm, slightly rustic look we wanted. It has some pattern, but not attention-grabbing pattern. It’s not too beige and getting lost amidst all the other elements.
It stands on its own, yet doesn’t stand out in a “Look at me! Look at me!” way. It’s perfect!
Within the context of the entire room, it may be a small change, but it’s an important one!
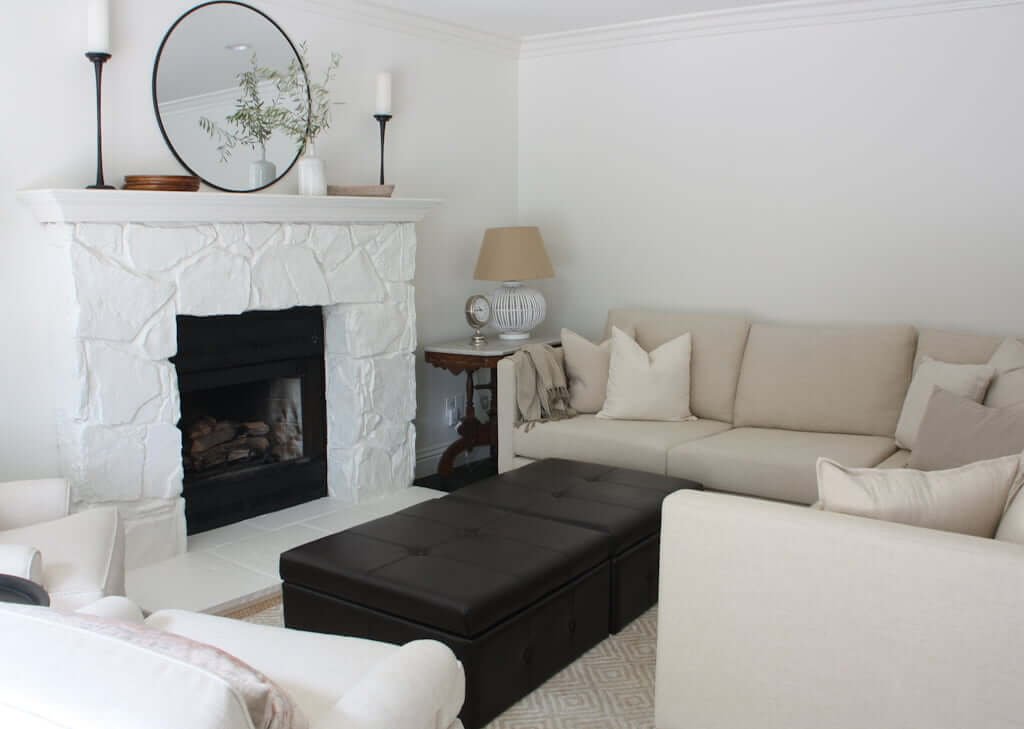
Family room with old ottomans (before):
Family room with our DIY rug ottoman:
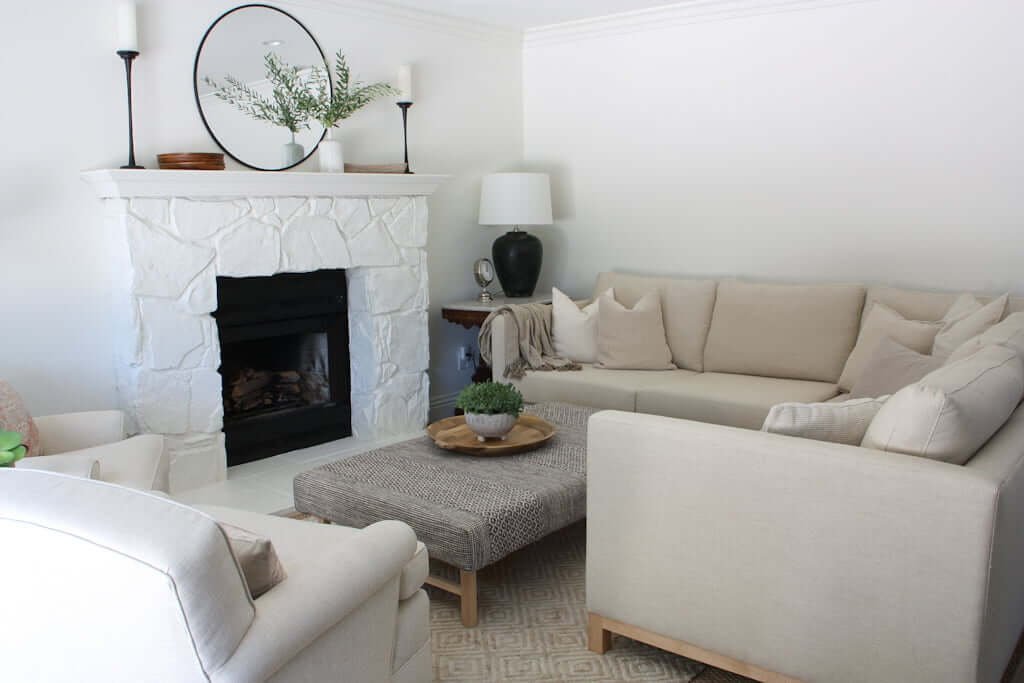
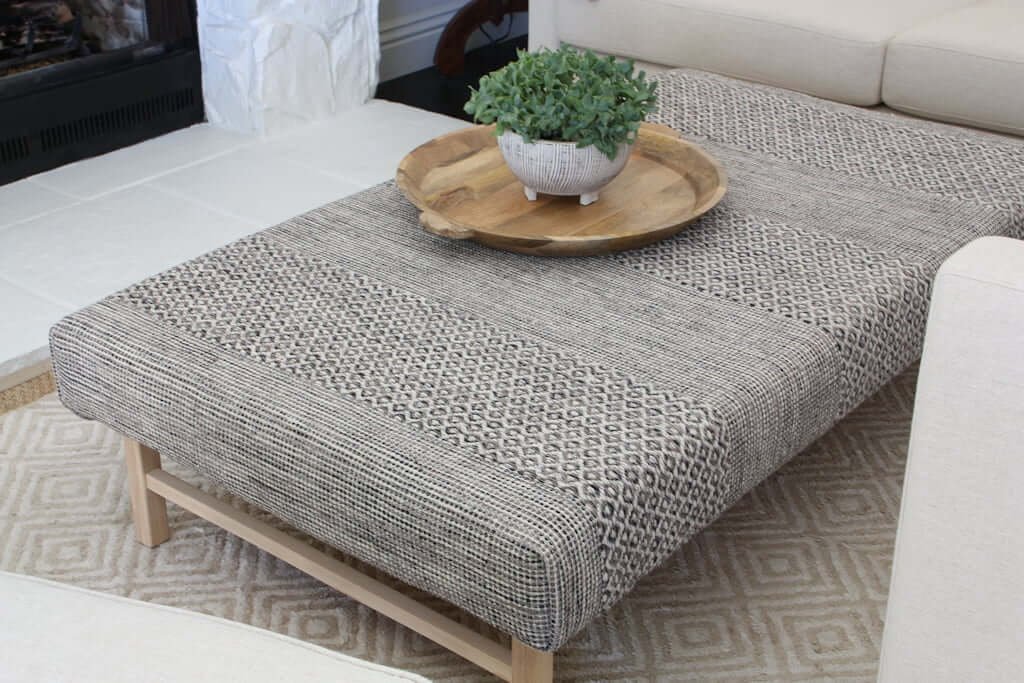
mirror | plates | vase | basket | rug | tray | planter
For now, we’re trying it out with this tray.
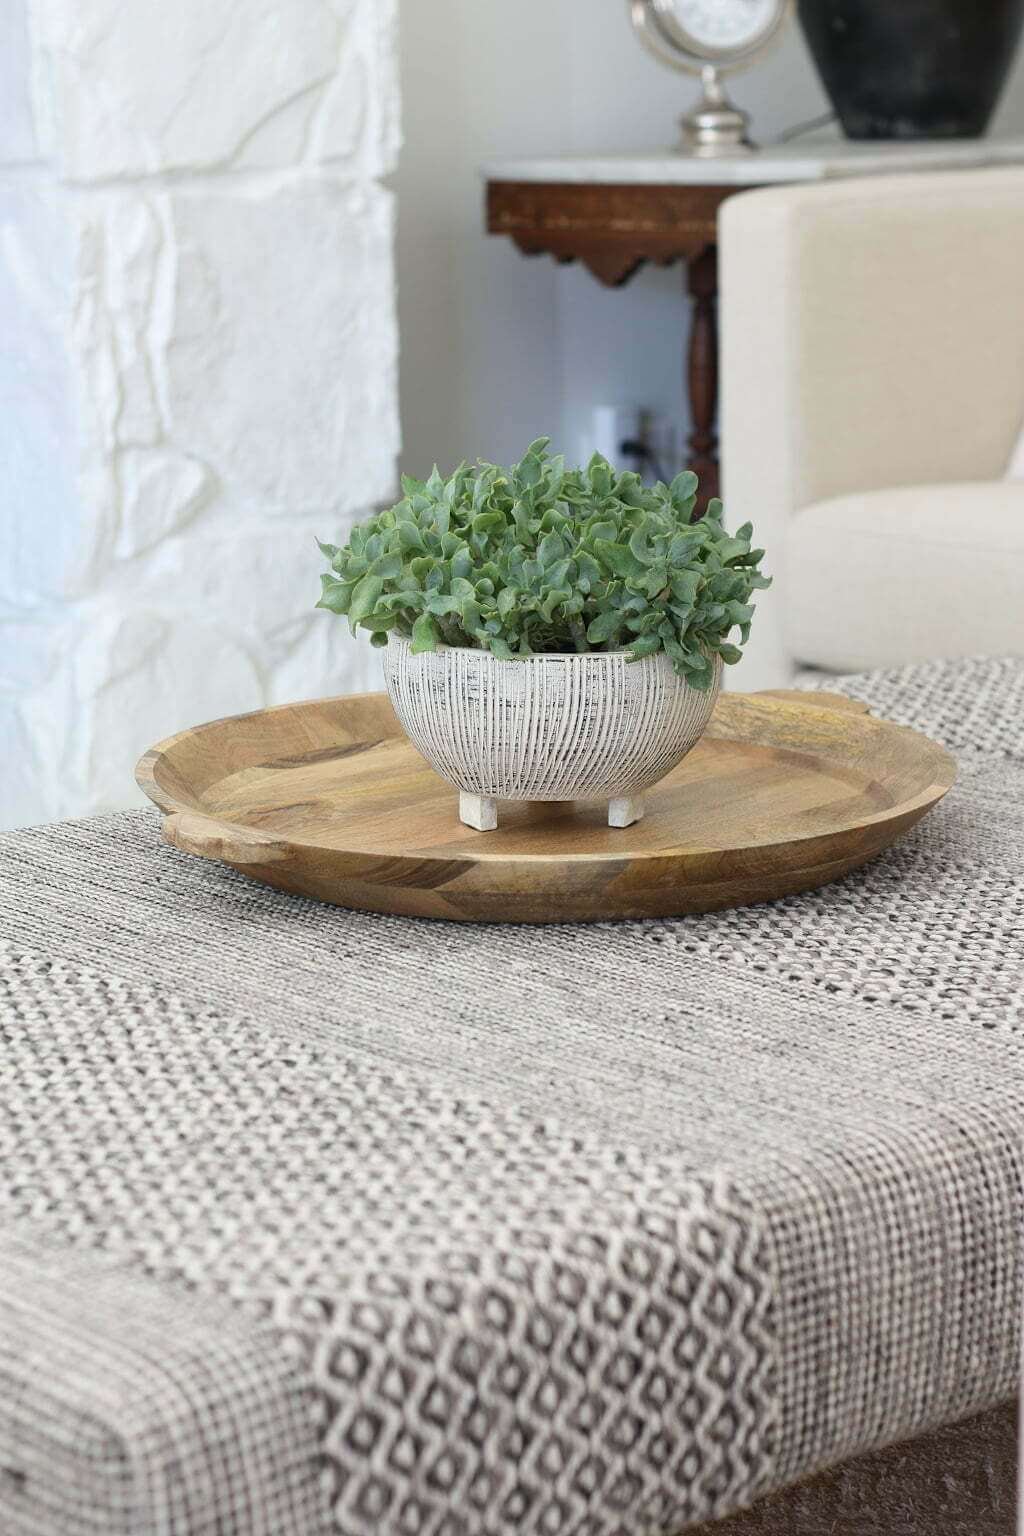
rug | tray | planter | FREE: Grab our Design Mini-guide HERE!
But since we primarily want our rug covered ottoman to be exactly what it is—an ottoman and not a coffee table—we’ll kick it to the curb if it starts getting in the way of people putting their feet up. It’s all about coziness, comfort, and connecting in this room!
(And if you’re wondering how to update an ottoman that you already have or you’ve been searching for how to “cover ottoman with rug,” this tutorial of ours would also work perfectly for that.)
If you missed our first post about this DIY rug ottoman, you’ll want to check that out HERE. Or, to see how this living room has developed, take our downstairs tour!
Next,
- How easily we made our DIY bed!
- 7 genius laundry room must-haves!
- Why we ripped out our new kitchen.
- Grout-free at last! (creating our “DIY shower”)
- 5 brilliant kitchen organization ideas that make life easier!
- Our DIY white board hack!
➜ Our complete list of every single home project is viewable HERE!


Love your ottoman. I was wondering if you wouldn’t mind sharing how you added the cross bar onto the legs? I don’t see any screws on the end.
Thanks
I happened on to this from Pinterest when I was searching for a DIY ottoman for our back patio. We needed a very large ottoman for our space and ended up with 36×72. We used scrap wood, a mattress topper from our camper and a rug from Ikea. All told, we spent less than $50 and now we have a beautiful ottoman on our covered patio, which is where we spend a very disproportionate amount of time. Thank so much for this tutorial!
So glad you found it helpful, Betsie! We have a number of other plans, tutorials & design guides HERE! 🙂
– Jess
It was so inviting to look at but I fell in love when you showed the construction. Awesome! Thanks for posting great DIY pieces like this!
Love hearing that! 🙂 Thanks Karin!
Lovely!! I am interested in how you covered the corners with the rug? They are smooth and look very neat. Did you have to cut the rug? Would you mind sharing that process? You did an amazing job on this!
Thank you, Joann! We just folded the corners–super simple! The only thing we cut on the rug was the tassels. 🙂
Your rug ottoman is gorgeous and is exactly what we are looking for in our living room. We will be giving it a try in a few weekends. Did you use prefabricated legs with cross bat or make your own?
Thanks Michelle! 🙂 We have LOVED having our ottoman these past months! For the legs and cross bar, we bought a 1 1/2″ square by 8-foot piece of redwood from Home Depot. The legs we kept 1 1/2″ square, but the cross bar we cut down to make a little thinner. Let us know how your project turns out! 🙂