Today we’re sharing how we did our easy (and free!) DIY cutting board project (and we did it with two children, ages 4 and 7), plus an even easier bonus option! (And no, that option isn’t “Just go to Target and buy one.”)
The “Even Easier Bonus Option” is…
…(I’ll wait while you drumroll)…
…doing it without kids! 😂
Bahahaha! I know. We’re full of brilliant ideas today. No one can stop us.
But really, this project is SO easy that even kids can help! (And they feel really important being able to help out with “big, grown-up” projects like this.)
WHY MAKE YOUR OWN CUTTING BOARD?
Excellent question.
It reminds me of when someone heard Matt and I made our own bread at home—and she laughed, “Didn’t you know you can buy that pre-made at the store?”
Yep! You can buy bread pre-made at the store! And you know what else you can buy pre-made? Cookies! But what cookies would we all rather eat—mass-produced or homemade?
We all make choices. Some things we put extra effort into making because we know the end results will be tastier/nicer/better, and other times we just can’t be bothered and buy the cheapest/fastest/easiest option available. No shame in that.
We all make choices. And this weekend, our family made a choice to make homemade cutting boards!
Let the fun begin!
Extra wood in our garage = fun family activity + life simplification tool!
DIY CUTTING BOARD: 3 REASONS
What possessed us to want to make our own cutting board?
We spend a lot of time as a family in our kitchen. Our girls are growing up watching a variety of cuisines and types of foods being created in our little cucina. And as they get older and more capable, they’re helping out more and more often.
As they learn to cut soft foods like bananas and strawberries all on their own, they’ve been increasingly using our cutting boards—most of which are large and heavy-ish for a child.
Here were my 3 reasons for wanting to create our DIY cutting boards for the girls:
Reason #1: The kids could pull the cutting boards out easily by themselves. (Whatever safely minimizes parental involvement makes your job a little easier, mom and dad!)
Reason #2: Each child would have her own dedicated cutting board. (No arguing over who gets which cutting board, which—let’s face it—is a treat for everyone!)
Reason #3: Less cleaning for mama! Call it selfish, call it smart, but anything that minimizes my time spent cleaning (such as this and this) immediately catapults its way to the top of mama’s list. When kids are only cutting small amounts of food, they don’t need a massive cutting board. Smaller cutting board = less surface to clean. Boom.
PS: We also happened to need new cutting boards ourselves, so we threw in a couple for Matt and I as well.
DIY WOOD CUTTING BOARD: HOW TO MAKE
This is actually a pretty quick project, especially if you have some leftover wood from another project that you weren’t sure what to do with!
Cost: We already had all these materials on hand, so the project was FREE for us! However, if you have the below standard tools and supplies and just need to buy the wood, we’d estimate it costing only about $2-3 per cutting board (depending on your size and wood purchased)! Still a smokin’ deal!
Time: 30-45 minutes (can be more depending on size and shape of your DIY cutting board)
Materials:
- Hardwood (such as hard maple, walnut, or teak—you can either choose a solid piece or get cut pieces and glue them together)
- Jigsaw
- Miter saw
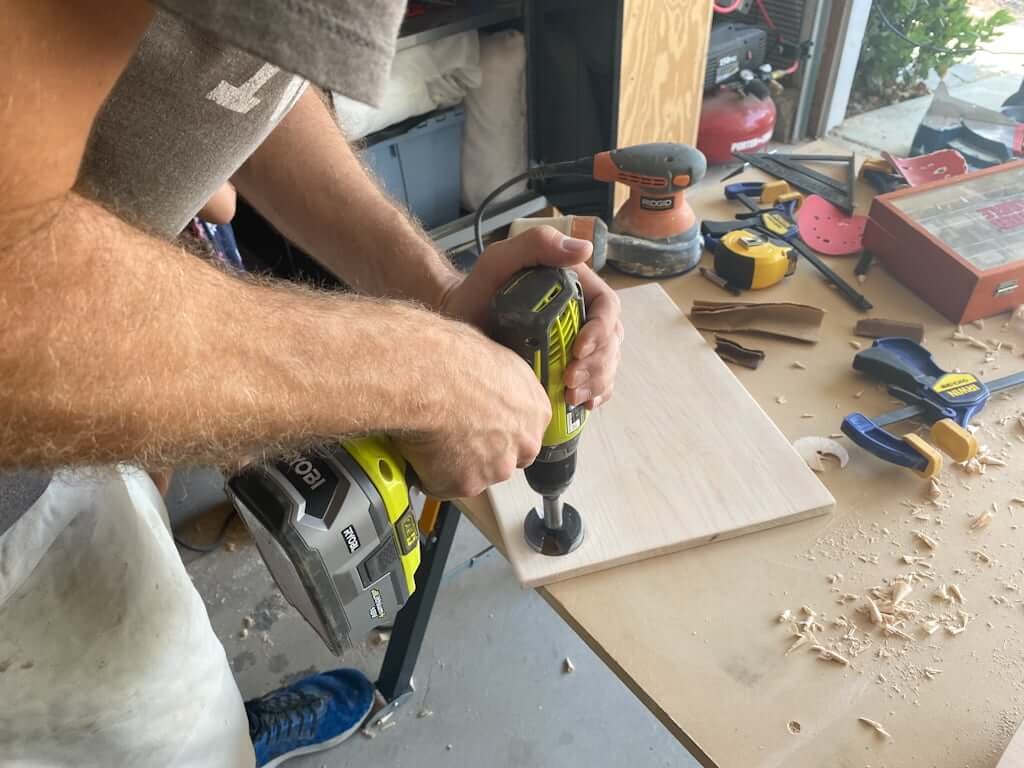
- Drill and drill bit
- Router (optional)
- Sand paper (100 and 220 grit)
- Olive or vegetable oil
DIY CUTTING BOARD: HOW TO MAKE IT
Step #1: Decide on the shape you want.
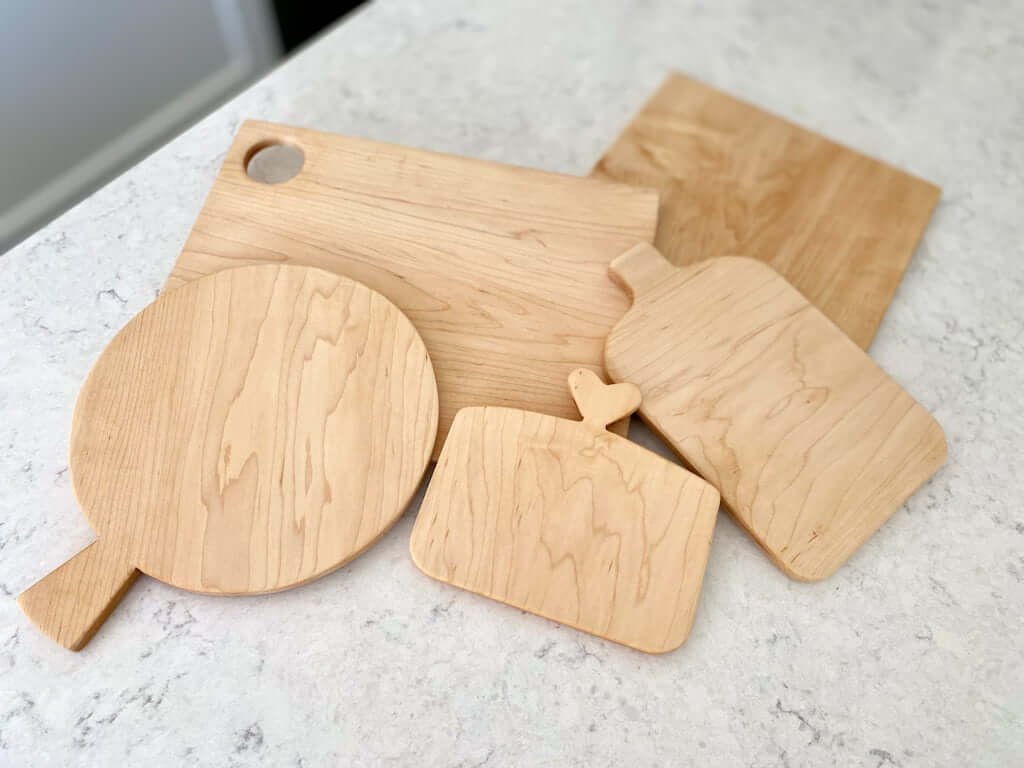
We chose 5 different shapes
- A larger 15″ x 11″ (we added a 2” hole for easy pickup, but that can be sized however you want, or omitted entirely!)
- A medium 11 x 11 square
- A small, round one for mama (Sometimes I only want to whip out a wee cutting board and not a big honkin’ one, ya know? See my earlier note on minimizing my cleaning time.)
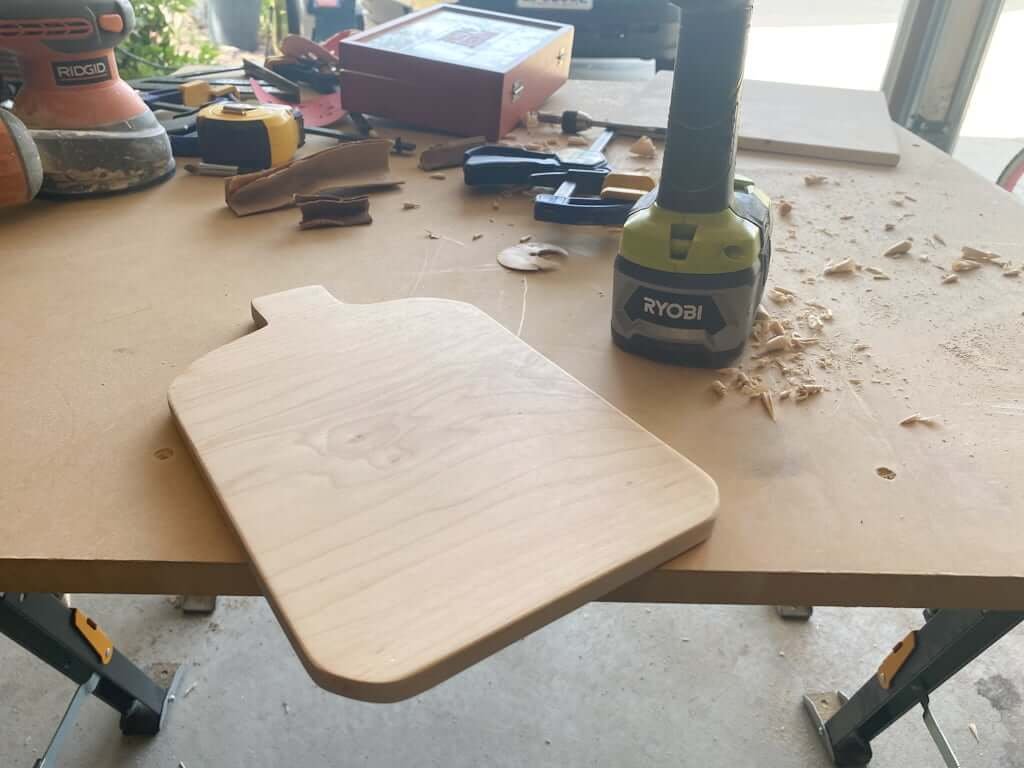
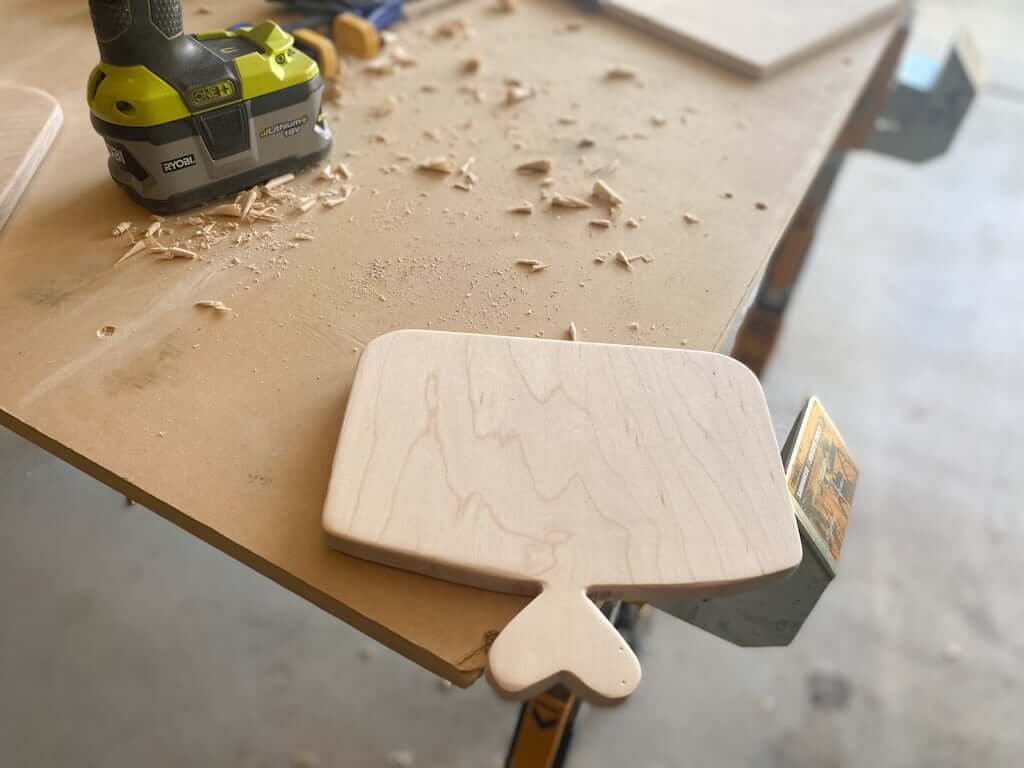
- Our 7-year-old chose to do a 5″ x 7″ cutting board with a small handle.
- Our 4-year-old asked for a heart-shaped handle, which might be the most adorably creative cutting board handle idea we’ve heard yet!

Once you decide on the shape and dimensions, mark out on your wood by drawing faint pencil lines:
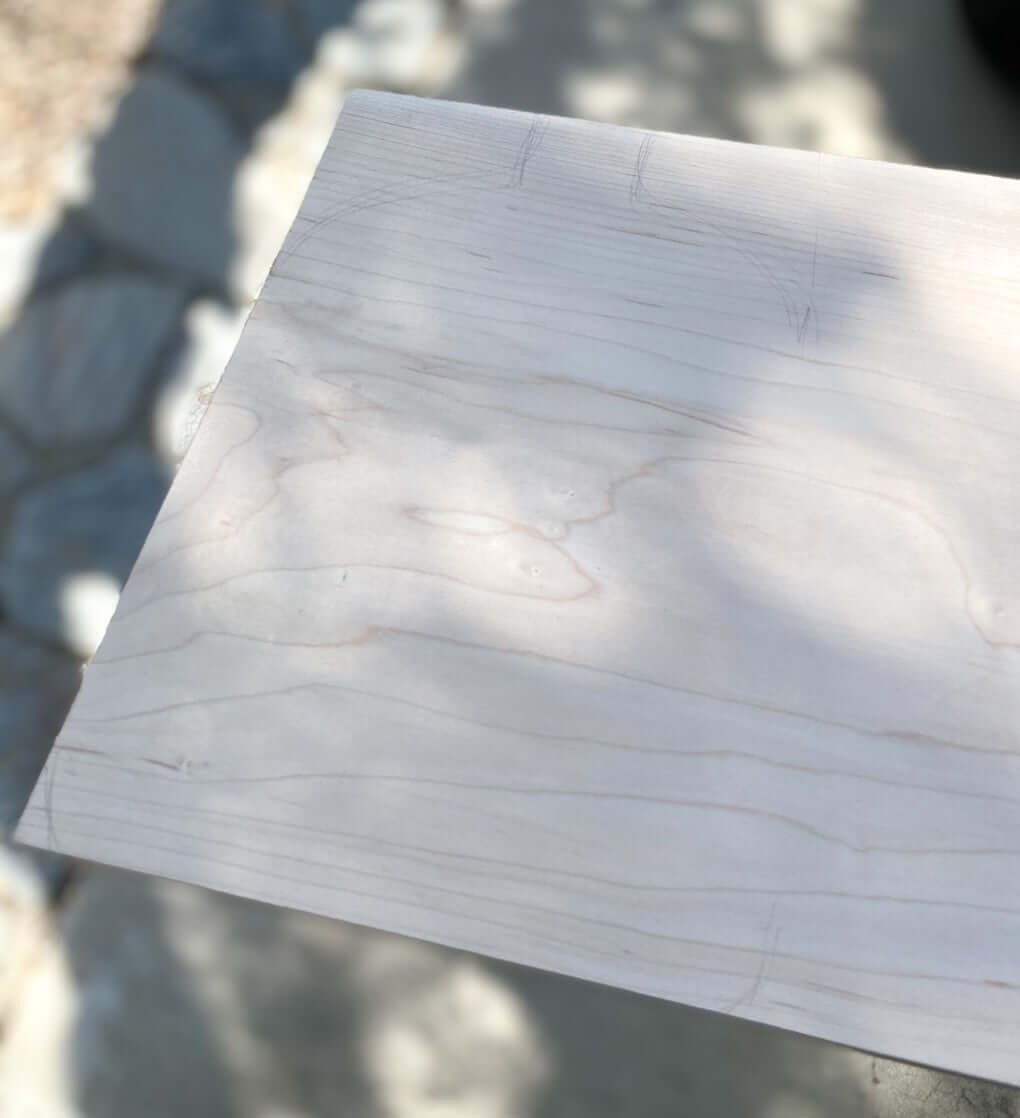
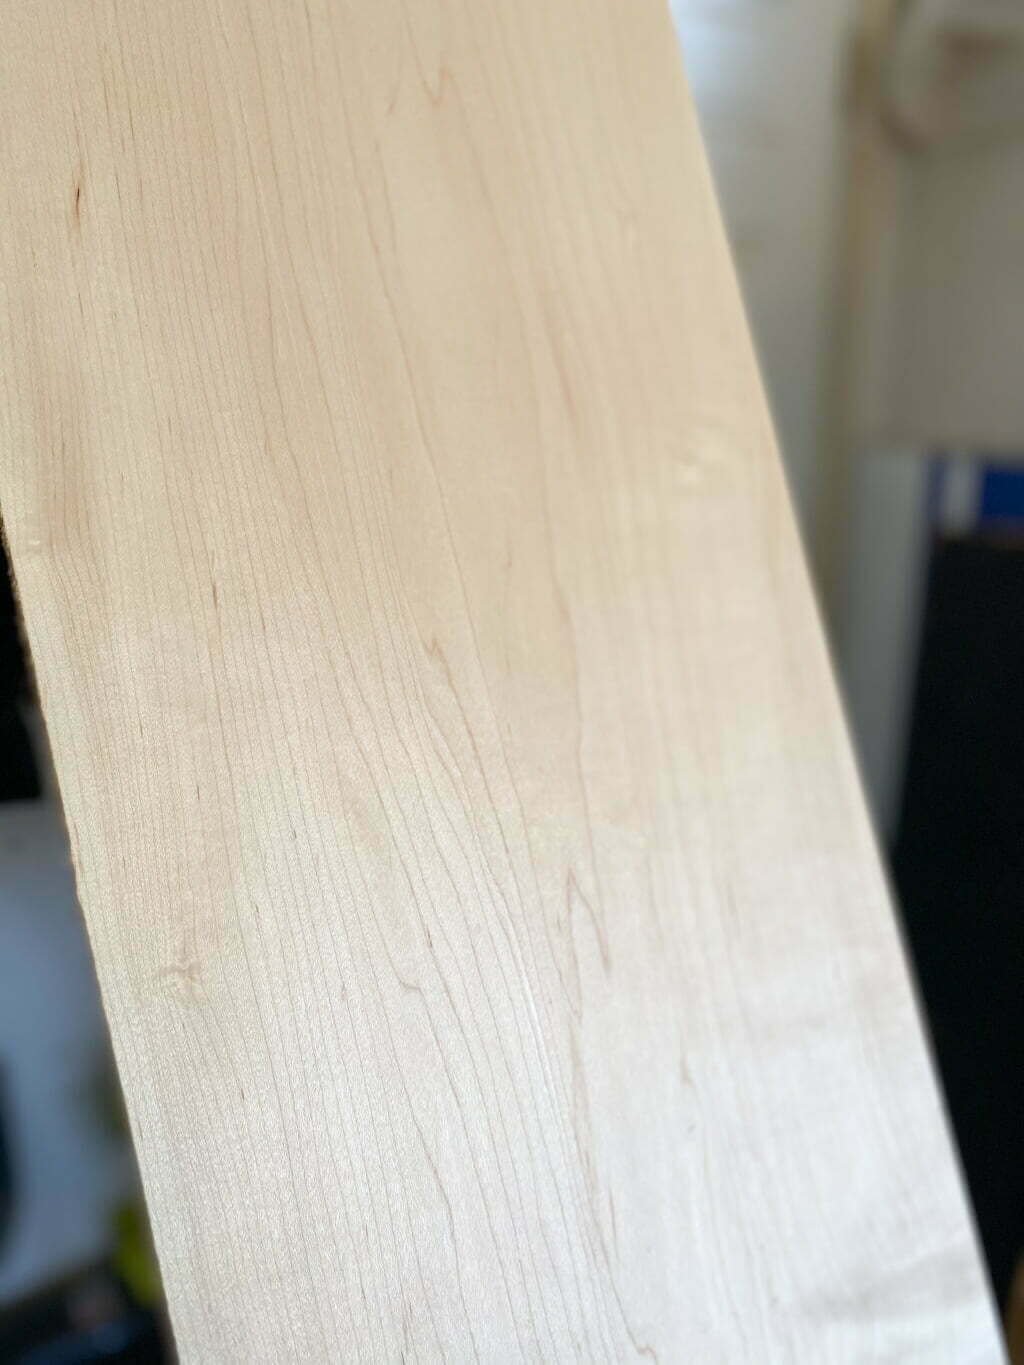
➥TIP: Take note of how the grain runs in the board—if the grain runs side to side through the handle, it will be weaker and has a great potential to break. To get maximum strength, ensure the grain runs top to bottom through the handle!
DIY CUTTING BOARD: HOW TO
Step #2: Cut.
We don’t take our kids to Disneyland; we let them do this. (Probably because these girls never actually ask to go to Disneyland, but they do ask if they can operate the power tools! Yeah!)
Only time will tell how our parenting choices turn out.😂
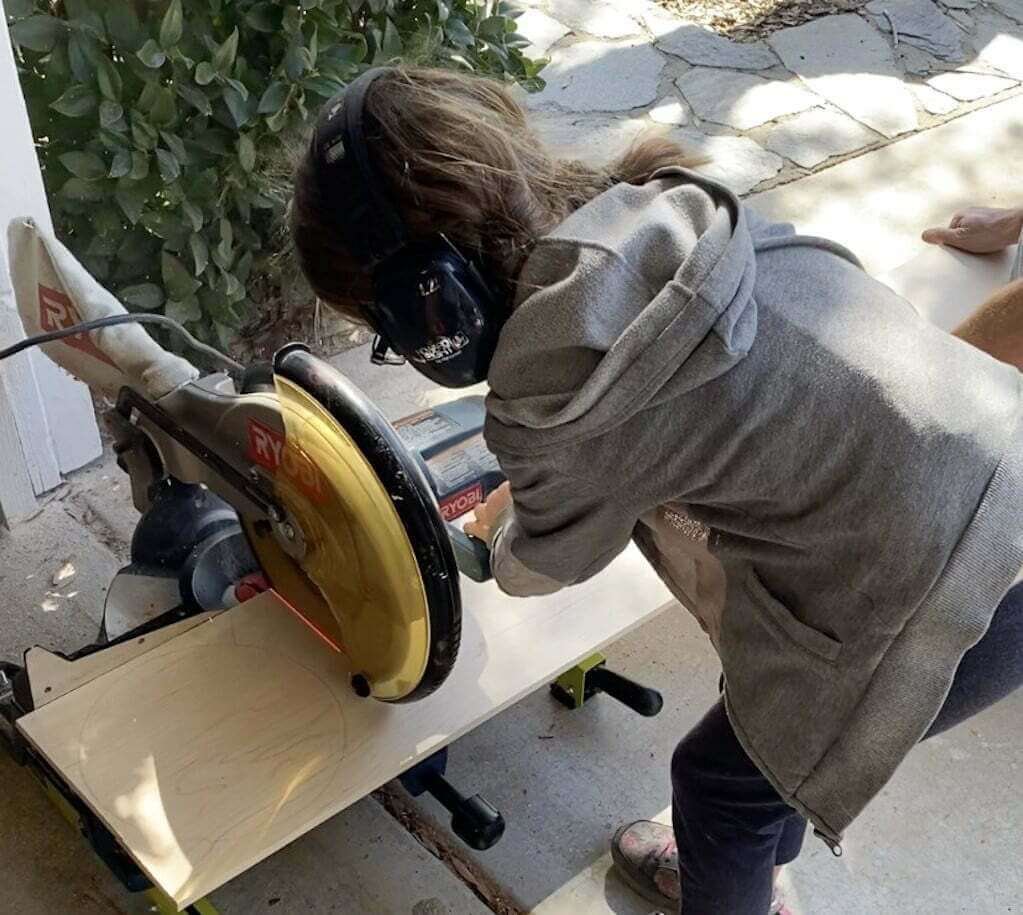
Use your jigsaw for curved cuts and your miter saw for straight cuts.
➥TIP: When cutting the handles, be sure to start at the bottom and go up towards the board. (For example, when cutting out the heart shape, Matt cut the heart top out, then cut the sides. This way there’s enough strength in the wood to not have it break while cutting.)
Optional: use a router to round the edges of your cutting board.
HOW TO MAKE IT: DIY CUTTING BOARD
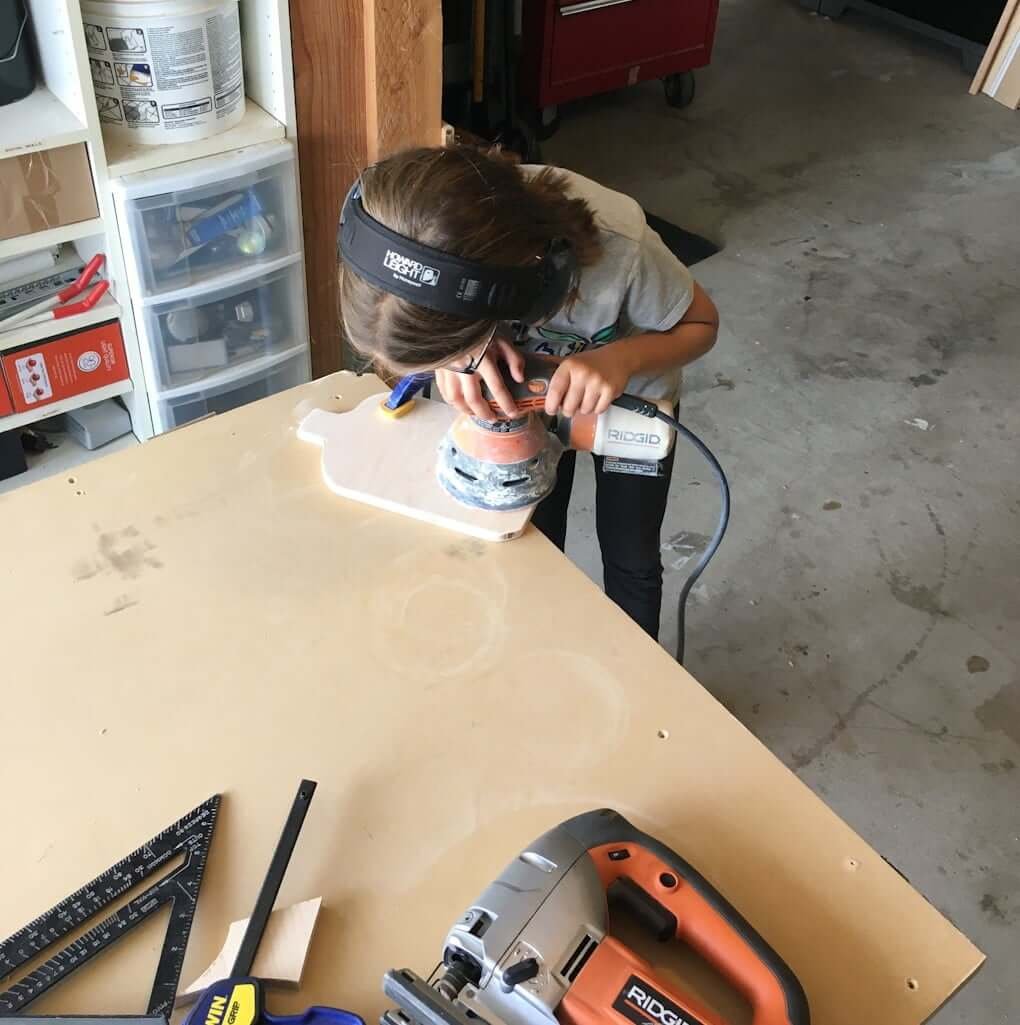
Step #3: Sand & finish!
After cutting, sand with 100 grit sandpaper. (We hand-sanded the edges for smoother, less machined, worn look.)
We also recommend following up with sanding with 220 grit sandpaper for an even smoother finish.
Here, our 7-year-old daughter demonstrates how easy it is to sand your own DIY cutting board, both by hand and with a power sander. Go girl, go!
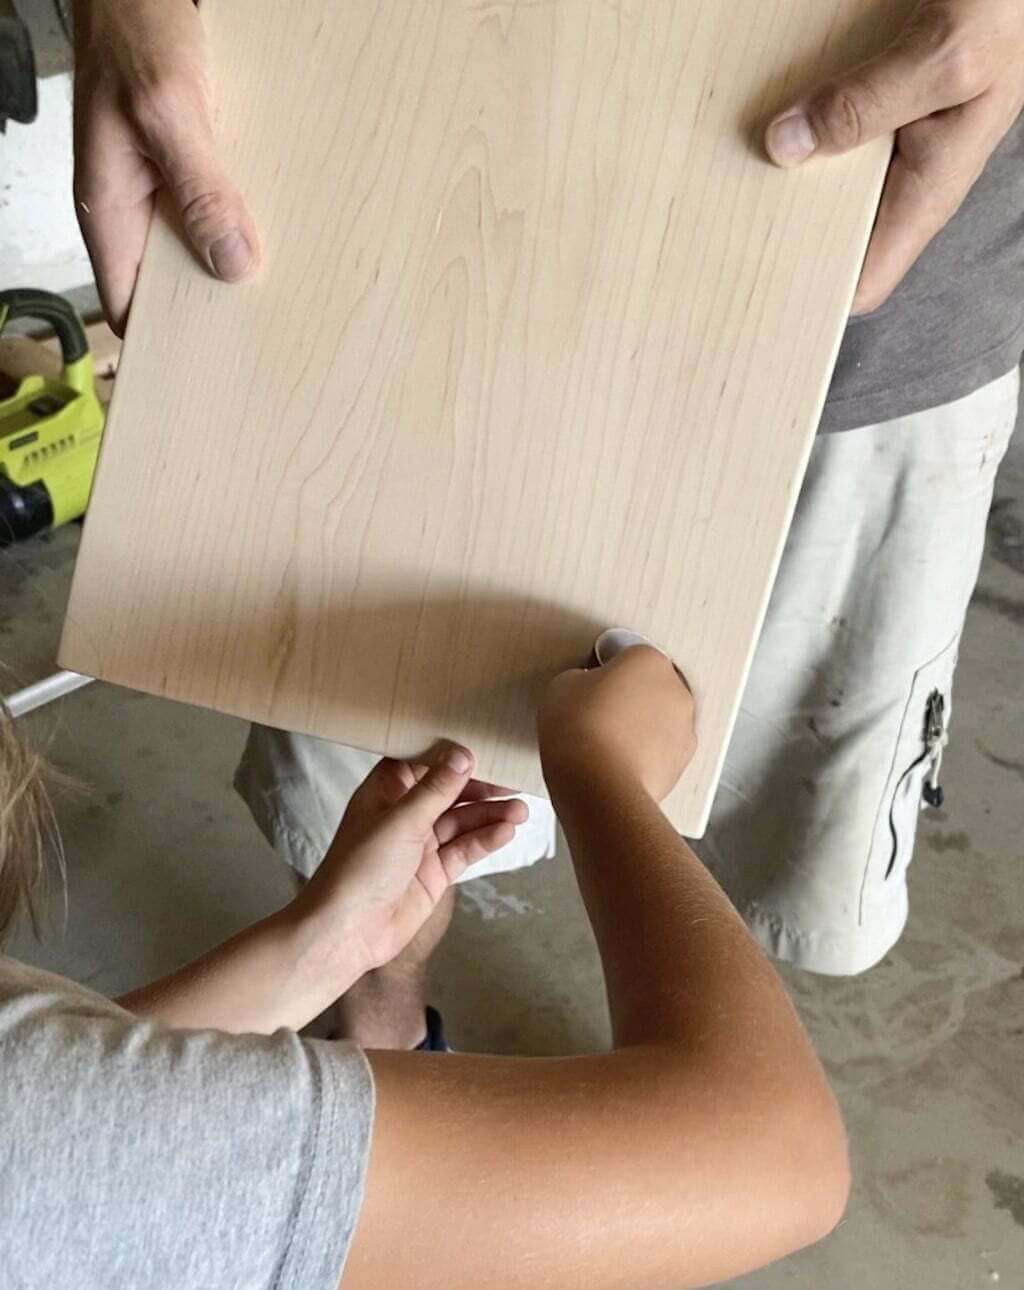
Last, rinse the board with water, let it dry, then oil the cutting board with olive or vegetable oil. (This helps prevent staining on your cutting board.)
Next…
Looking for another easy-but-high-impact DIY? See all our projects HERE!
Or check out one of our most popular posts:
- A tour of our (servantless) downstairs.
- 5 steps to DIYing our genius bathroom vanity!
- Why we ripped out our new kitchen.
- 7 no-fuss laundry room must-haves.
- 5 Brilliant Kitchen Organization Ideas that Make Life Easier.
PS: If you’d like our help on your own home spaces, book a Design Consultation with us or check out our Design Guides & Plans!
*This post contains affiliate links, which are no extra cost to you but help us keep this site alive!


If I wanted to do a written recipe on it with a wood burning tool, would I do that before or after the sanding process?
Hi Chelsea, actually the answer would be both. You want to finish sand the board before burning and then sand lightly with a fine sand paper (220 grit) after burning to remove any overburn and make the lines crisp and clear.
What a great DIY! You are right to encourage your girls to DIY, they will benefit more from those skills than a trip to Disney! I need more chopping boards in my kitchen so this is a great tutorial for me!
Thanks Jayne! And thank you for the encouragement. 🙂 Hope you’re able to get to those chopping boards soon–let us know if you have any questions!